


Telegram is an instant messaging app based on cloud. Telegram is almost similar to Whatsapp and available for all devices like Android, IOS, Windows, Mac and linux. User can send stickers, messages, pics, audio files and videos. So, Telegram has an API bot that allows the human to talk to machines. Telegram bot is like a robot which programmed with a set of instruction and answer to interact with the user.
Earlier, we have made a Twitter Bot which can tweet raspberry pi’s temperature automatically on twitter. In this project, we are going to control a LED connected with Raspberry Pi using Telegram Bot. For this, we will create a telegram bot which is capable of sending and receiving messages from a Raspberry Pi. Not only the LED, we can control any home appliance using this Telegram bot.
Components Required
- Raspberry Pi
- LED
- Breadboard
- Resistor (250 ohm)
- Jumper Wires
Circuit Diagram
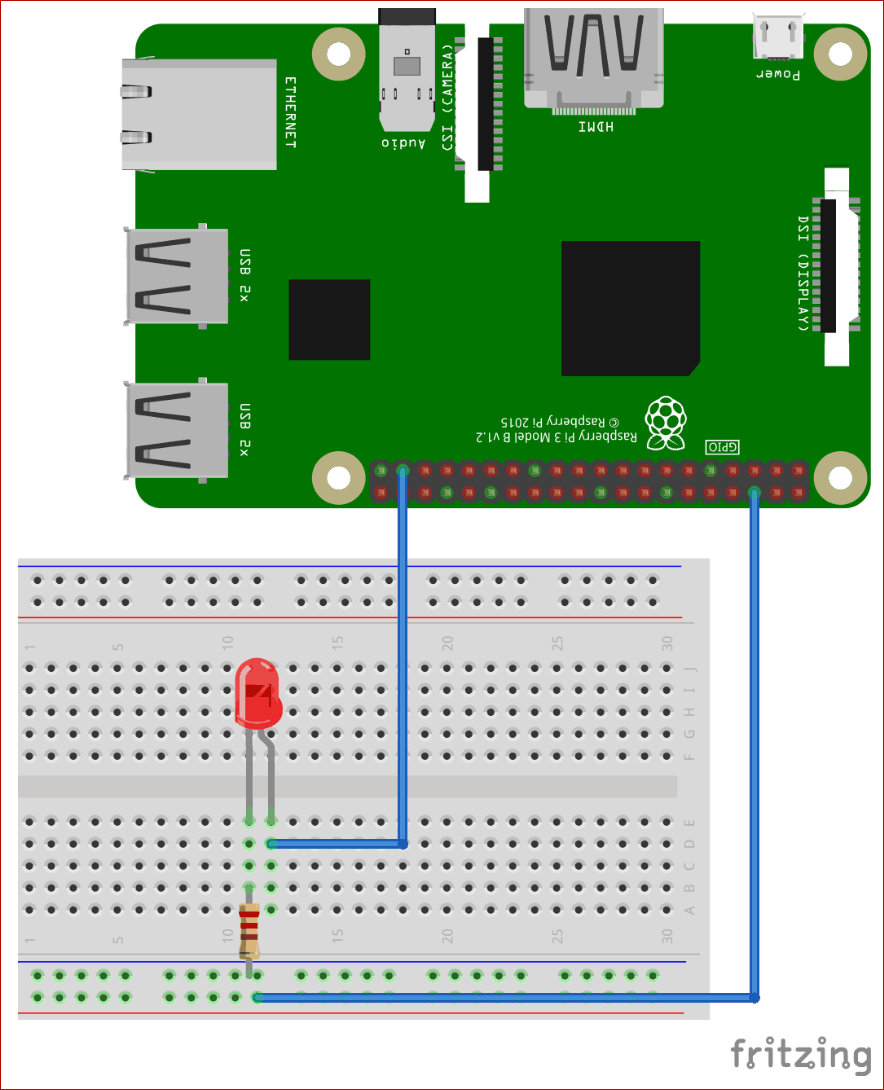
Connect positive pin of LED with Pi’s GPIO26 and negative pin with ground GND through a 250 ohm resistor.
Telegram Bot Setup with Pi
If your phone doesn’t have Telegram app then go to play store or Iphone’s app store to download.
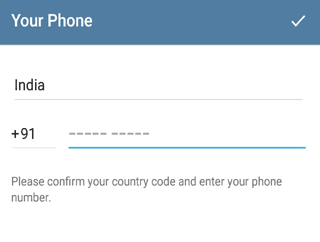
Now open the app and it will ask for your number. Register and verify with your number to create an account. Also, give a name to your account after the verification.
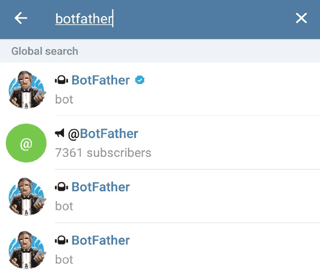
After this, it will take you to the home screen. Now we need to create a new bot that will send and receive messages with the Raspberry Pi. Search for ‘botfather’ in the search menu.
Now write “/start” to start chatting with the bot.

After that, write “/newbot’ to request a new bot.
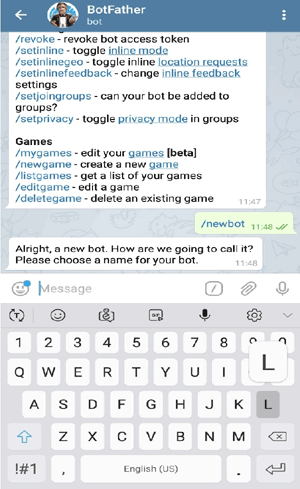
Now it will ask you to enter a name for the new bot.
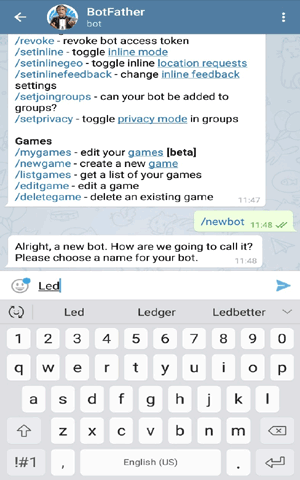
Next, it will ask you to enter a username for the bot. Enter a unique username to create your bot.
Therefore, check your received message, there will be a token. Save it, as we will need it in the code.
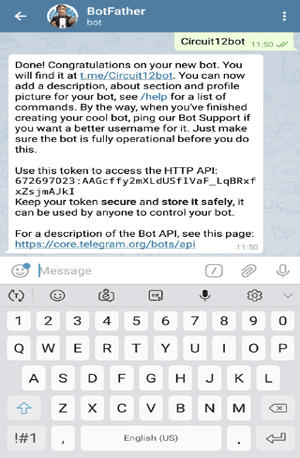
Next, search for the bot using its username to confirm that the bot has been created.
Raspberry Pi setup for Telegram Bot
Start with installing the teleport library on your Pi. Type the below command in the terminal to install it:
sudo pip install teleport
Now, make a new file using this command:
Sudo nano tele.py
After this, copy the complete code given at the end, and save into the above created file.
Programming Code Explanation
Import all the necessary libraries in the code, as shown below:
import time, datetime
import RPi.GPIO as GPIO
import telepot
from telepot.loop import MessageLoop
Initialize and define the LED pin as output pin and setup the GPIO’s.
led = 26
now = datetime.datetime.now()
GPIO.setmode(GPIO.BCM)
GPIO.setwarnings(False)
 #LED
GPIO.setup(led, GPIO.OUT)
GPIO.output(led, 0) #Off initially
Whenever the Pi receives a message from the Telegram bot, it will call the action function and this function reads the message and separate the text from it.
def action(msg):
    chat_id = msg['chat']['id']
    command = msg['text']

    print 'Received: %s' % command
Now using if condition will check for keywords and toggle the led according to the keyword. While message string is used to reply back to the user.
    if 'on' in command:
        message = "Turned on "
        if 'led' in command:
            message = message + "led"
            GPIO.output(led, 1)
            telegram_bot.sendMessage (chat_id, message)

    if 'off' in command:
        message = "Turned off "
        if 'led' in command:
            message = message + "led "
            GPIO.output(led, 0)
           telegram_bot.sendMessage (chat_id, message)
Now, in the below code enter token details in the commas. The “bot.getMe()” will check whether a connection between the Pi and the Telegram bot was made successfully by printing a response.
telegram_bot = telepot.Bot('672697023:AAGcffy2mXLdUSflVaF_LqBRxfxZsjmAJkI')
print (telegram_bot.getMe())

MessageLoop(telegram_bot, action).run_as_thread()
print 'Up and Running....'

while 1:
    time.sleep(10)
After this, run your code using this command:
Python tele.py
Raspberry pi terminal will look like this:
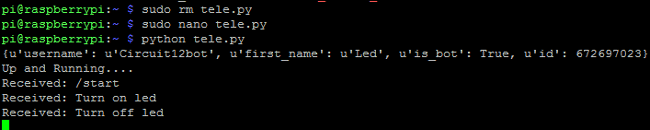
Now start your bot and send commands to turn on and off led.
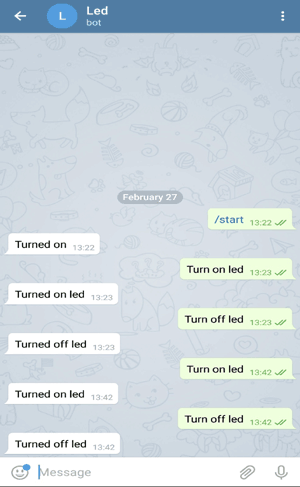
Hence, we have successfully controlled the LED with the telegram app, you can also replace the LED with any other home appliances. Also, checkout our previous project of Twitter Bot with Raspberry-Pi.
import time, datetime
import RPi.GPIO as GPIO
import telepot
from telepot.loop import MessageLoop
led = 26
now = datetime.datetime.now()
GPIO.setmode(GPIO.BCM)
GPIO.setwarnings(False)
#LED
GPIO.setup(led, GPIO.OUT)
GPIO.output(led, 0) #Off initially
def action(msg):
chat_id = msg['chat']['id']
command = msg['text']
print 'Received: %s' % command
if 'on' in command:
message = "Turned on "
if 'led' in command:
message = message + "led"
GPIO.output(led, 1)
telegram_bot.sendMessage (chat_id, message)
if 'off' in command:
message = "Turned off "
if 'led' in command:
message = message + "led "
GPIO.output(led, 0)
telegram_bot.sendMessage (chat_id, message)
telegram_bot = telepot.Bot('672697023:AAGcffy2mXLdUSflVaF_LqBRxfxZsjmAJkI')
print (telegram_bot.getMe())
MessageLoop(telegram_bot, action).run_as_thread()
print 'Up and Running....'
while 1:
time.sleep(10)


