


Raspberry pi is a small pocket sized computer having on-board GPIO pins to connect other peripherals and sensors. It has inbuilt Wi-Fi to connect with network and upload sensor data directly to any IoT cloud platform without using any external components. We previously used Raspberry pi to connect with various cloud platforms:
- Control Raspberry Pi GPIO with Adafruit IO to trigger an LED
- IoT Controlled LED with Blynk App and Raspberry Pi
- How to Trigger LED using IFTTT and Raspberry Pi
- How to Send Data to ThingSpeak Cloud using Raspberry Pi
In this project we are going to use a new IoT cloud platform called Artik. Here we will use Artik with Raspberry pi to control an LED. Samsung ARTIK is the integrated Smart Internet of Things platform. By using Artik cloud you can make your project internet-connected. You can control motors, read sensor data, and make cool IoT applications over the internet using ARTIK Cloud. To test and try with some limitation, it is free to use.
Components Required
- Raspberry Pi
- LED
- Breadboard
- Resistor (250 ohm)
- Jumper Wires
- Artik Cloud
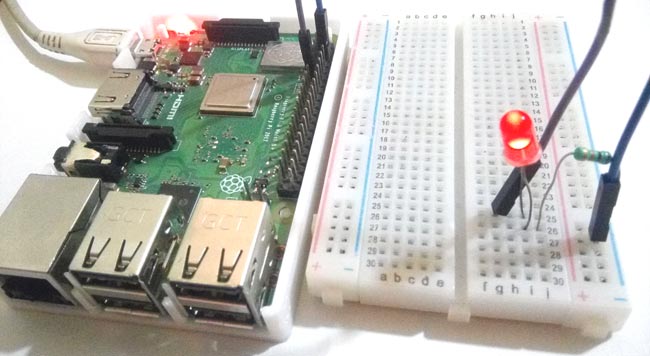
Circuit Diagram
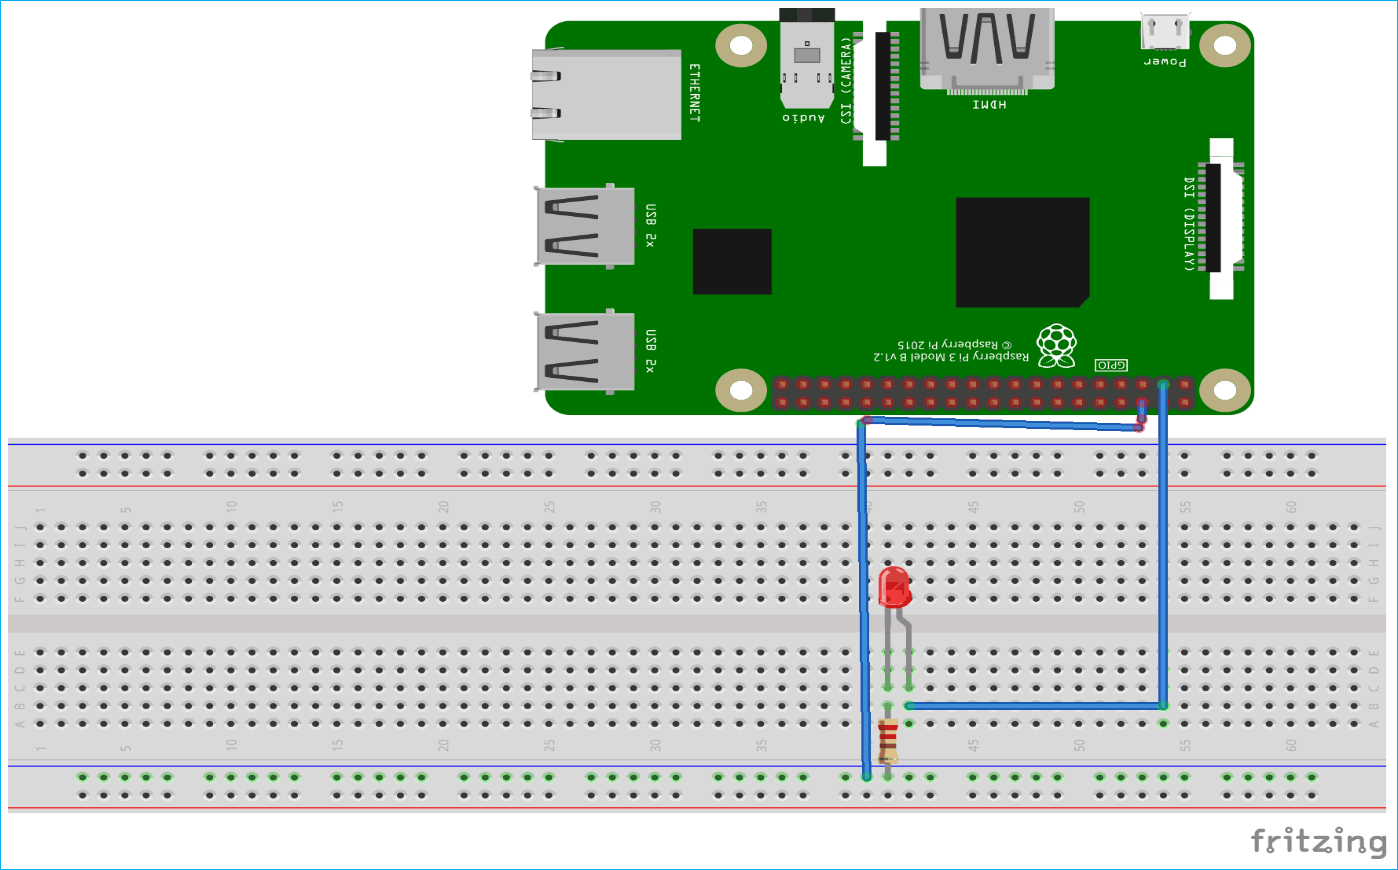
The connections of this project is very simple. Just connect LED’s positive pin to raspberry Pi’s 3rd (GPIO2) pin and negative pin to resistor. Other part of resistor is connected with ground pin of the raspberry pi.
Step 1 Artik Cloud Account Setup with Raspberry Pi
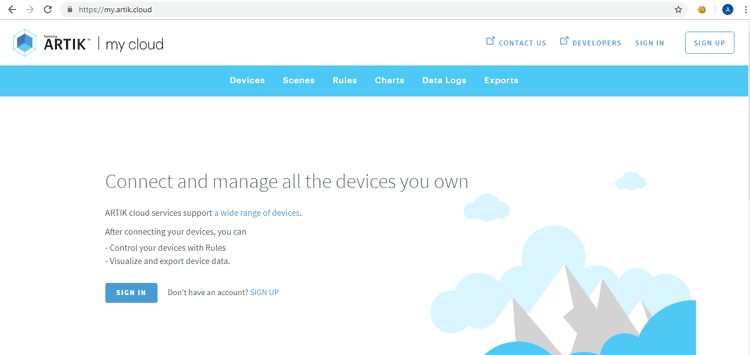
First, sign up into the ARTIK Cloud developer dashboard. For this navigate to artik cloud’s official site (https://developer.artik.cloud/).
Click on SIGN UP button to sign up.
When you click on sign up button a window will pop up where you have to fill your account details. After this click on sign up and your account will be created.
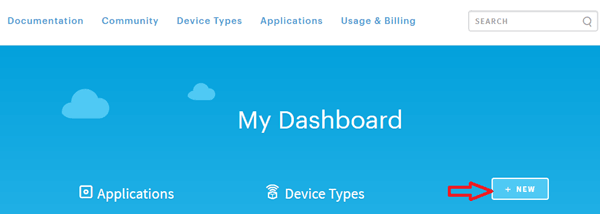
After this, to add a device go to dashboard and click on ‘+New’ to add device
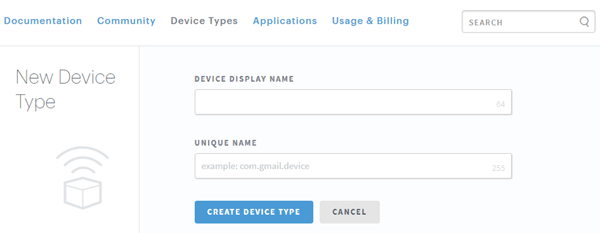
After this enter device display name and unique name. Name the device according to your project and give it a unique name like: com.example.smart.led. Remember you can’t use capital letters for unique name. Click on create device type this will create your device type and takes you to a page listing your device types.
In next window click on save changes. Now your device is created. After this you have to create a ‘Manifest’. For this click on ‘New Manifest’.

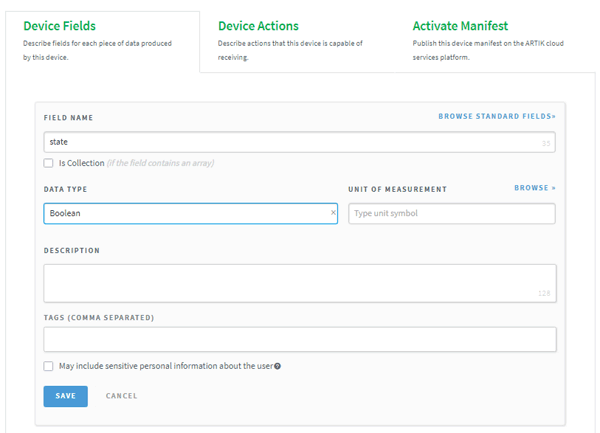
In the "Device Fields" tab, choose "STATE" as the Field Name and "Boolean" as Data Type and click on save.
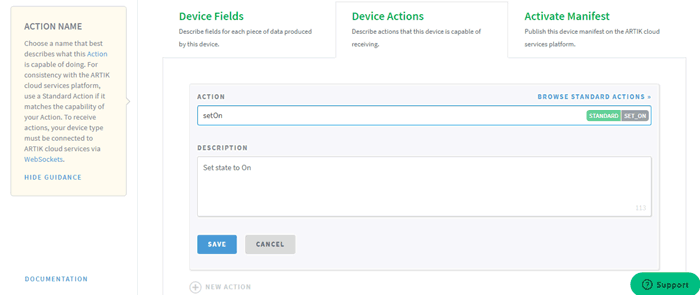
After this in ‘Device Action’ tab click on "NEW ACTION" and then add "setOn" in the ‘ACTION’ menu. After this again click on "NEW ACTION" and then add "setOff" in the ‘ACTION’ menu and click on save.
Then navigate to ‘Activate manifest’ tab you will see the fields and actions created as shown in below image:
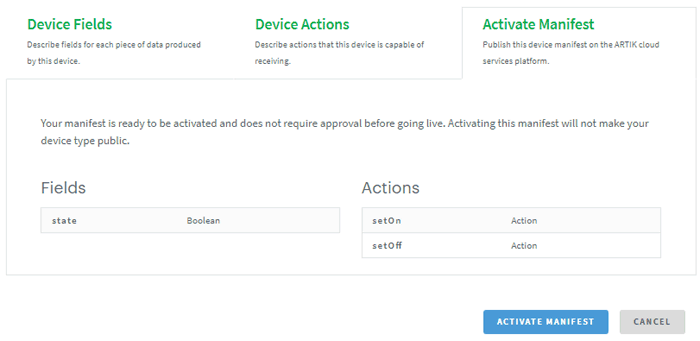
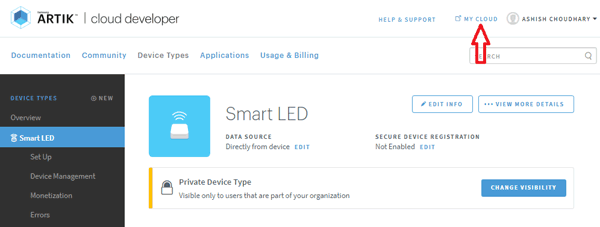
Click on ‘Activate Manifest’ to complete your device setup. After this click on ‘My Cloud’ on top right corner.
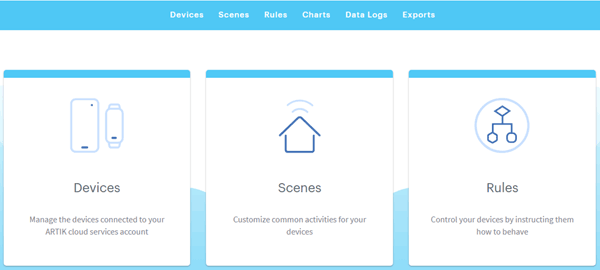
On the dashboard, click on ‘Devices’.
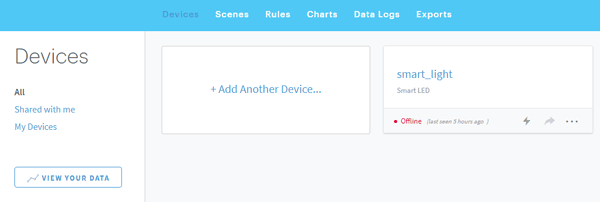
In next window click on ‘Add Another Device’.
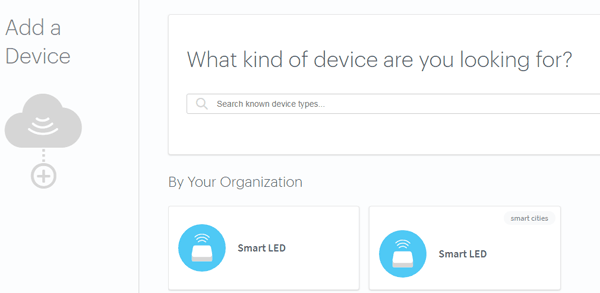
After this choose your device type that you just created. And in next window give a name to your device and click on ‘Add Device’.
Now click on your device. A window will pop up that contains your ‘Device ID’ and ‘Device ID Type’. To generate device token click on ‘Generate Device Token’.
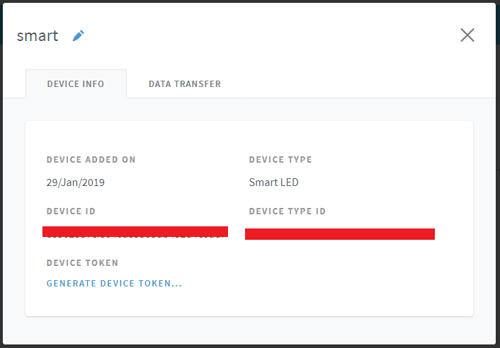
Copy this it will be used in program.
Step 2 Raspberry Pi Setup
First update your Raspberry Pi using
sudo apt-get update
sudo apt-get upgrade
Now if you have not already installed Node.js on your Pi then install it using these commands:
npm install ws
npm install rpi-gpio
Now create a file and paste your code using:
sudo nano smart led.js
Complete python code is given at the end of this tutorial, just copy-paste the code in above created file and run your code using:
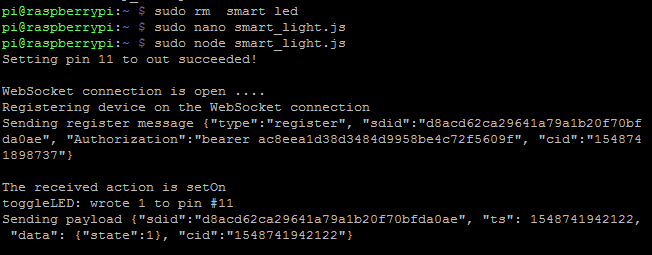
sudo node smart led.js
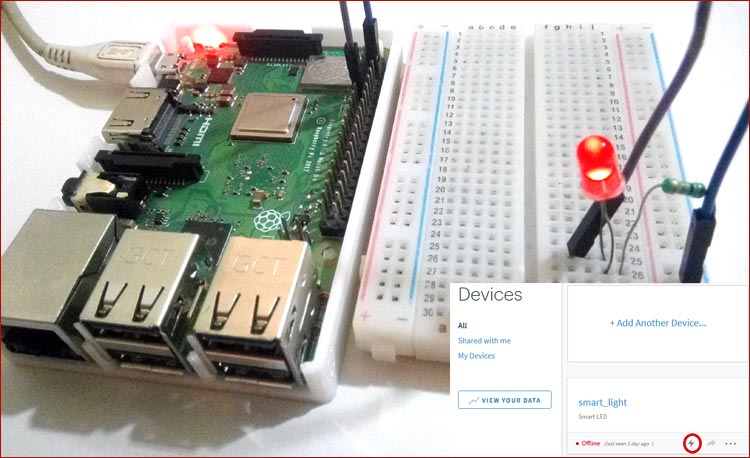
If your code runs properly then your terminal window will look like this:
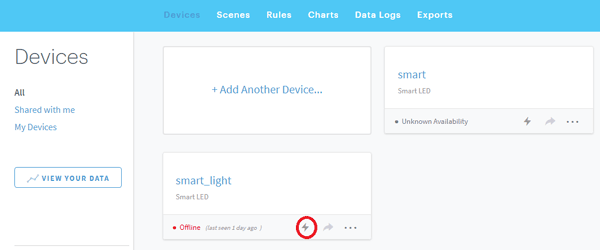
After this navigate to your Artik cloud page and test your LED. Click on ‘Energy’ sign to send signals to your device.
var webSocketUrl = "wss://api.artik.cloud/v1.1/websocket?ack=true";
var device_id = "<YOUR DEVICE ID>";
var device_token = "<YOUR DEVICE TOKEN>";
var WebSocket = require('ws');
var isWebSocketReady = false;
var ws = null;
var gpio = require('rpi-gpio');
var myPin = 3;// physical pin
var myLEDState = 0;
function getTimeMillis(){
return parseInt(Date.now().toString());
}
function start() {
//Create the WebSocket connection
isWebSocketReady = false;
ws = new WebSocket(webSocketUrl);
ws.on('open', function() {
console.log("WebSocket connection is open ....");
register();
});
ws.on('message', function(data) {
// console.log("Received message: " + data + '\n');
handleRcvMsg(data);
});
ws.on('close', function() {
console.log("WebSocket connection is closed ....");
exitClosePins();
});
gpio.setup(myPin, gpio.DIR_OUT, function(err) {
if (err) throw err;
myLEDState = false; // default to false after setting up
console.log('Setting pin ' + myPin + ' to out succeeded! \n');
});
}
function register(){
console.log("Registering device on the WebSocket connection");
try{
var registerMessage = '{"type":"register", "sdid":"'+device_id+'", "Authorization":"bearer '+device_token+'", "cid":"'+getTimeMillis()+'"}';
console.log('Sending register message ' + registerMessage + '\n');
ws.send(registerMessage, {mask: true});
isWebSocketReady = true;
}
catch (e) {
console.error('Failed to register messages. Error in registering message: ' + e.toString());
}
}
function handleRcvMsg(msg){
var msgObj = JSON.parse(msg);
if (msgObj.type != "action") return; //Early return;
var actions = msgObj.data.actions;
var actionName = actions[0].name; //assume that there is only one action in actions
console.log("The received action is " + actionName);
var newState;
if (actionName.toLowerCase() == "seton") {
newState = 1;
}
else if (actionName.toLowerCase() == "setoff") {
newState = 0;
} else {
console.log('Do nothing since receiving unrecognized action ' + actionName);
return;
}
toggleLED(newState);
}
function toggleLED(value) {
gpio.write(myPin, value, function(err) {
if (err) throw err;
myLEDState = value;
console.log('toggleLED: wrote ' + value + ' to pin #' + myPin);
sendStateToArtikCloud();
});
}
function sendStateToArtikCloud(){
try{
ts = ', "ts": '+getTimeMillis();
var data = {
"state": myLEDState
};
var payload = '{"sdid":"'+device_id+'"'+ts+', "data": '+JSON.stringify(data)+', "cid":"'+getTimeMillis()+'"}';
console.log('Sending payload ' + payload + '\n');
ws.send(payload, {mask: true});
} catch (e) {
console.error('Error in sending a message: ' + e.toString() +'\n');
}
}
function exitClosePins() {
gpio.destroy(function() {
console.log('Exit and destroy all pins!');
process.exit();
});
}
start();
process.on('SIGINT', exitClosePins);


