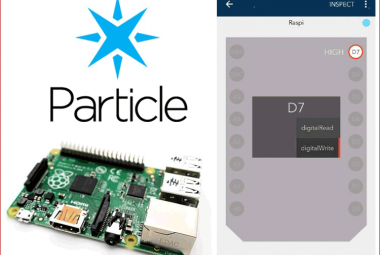
Particle Cloud is the most popular and maker-friendly IoT platform. It handles number of complex options for creating an IoT product. In Particle Cloud you can control your devices using Android or IOS app and using Particle Cloud console.
Previously, we have controlled the LED by using Particle Cloud Android App. Now, we are going to control a LED by Particle Cloud console using Raspberry Pi. Particle Cloud has many advantages over other platforms like: it has Pre-provisioned connectivity modules, Pre-built integrations with and tools to stream data to databases and third-party web-services, APIs for interacting with devices virtually etc.
There are other IoT Platform also, which we can use for designing amazing IoT projects, some of them are Adafruit IO, Blynk, Artik Cloud, Firebase, ThingSpeak, and IFTTT.
Components Required
- Raspberry Pi
- LED
- Breadboard
- Resistor (250 ohms)
- Jumper Wires
Circuit Diagram
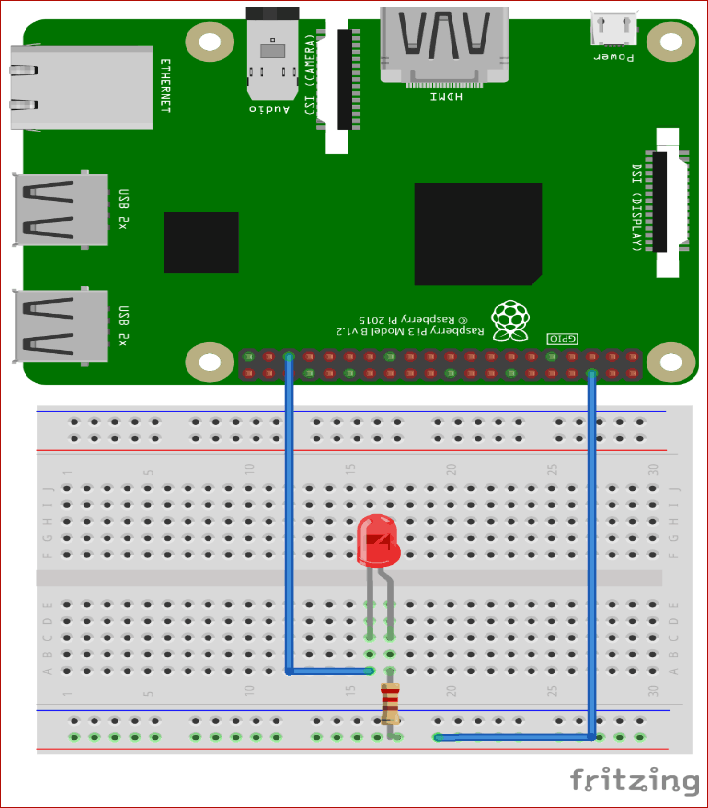
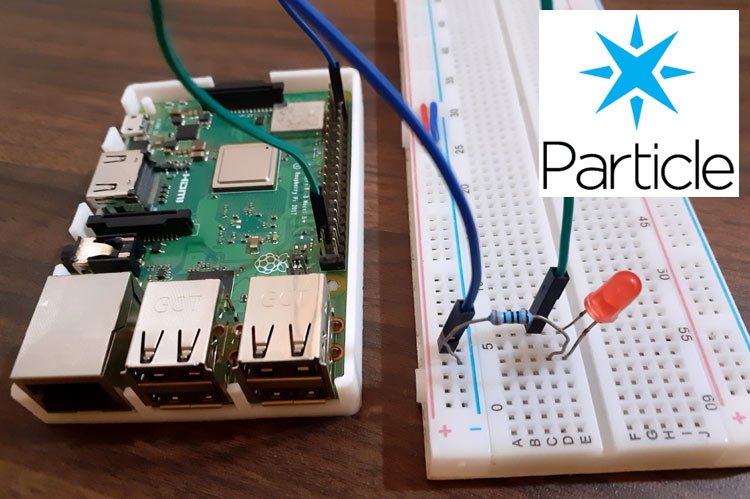
The connections of this project are very simple. Just connect LED’s positive pin to raspberry Pi’s GPIO19 pin and negative pin to the resistor. Another part of the resistor is connected with the ground pin of the raspberry pi.
Particle Cloud Setup for Raspberry Pi
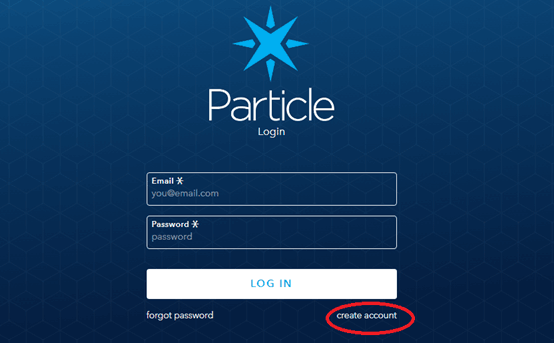
To control led using particle cloud we need to create an account on Particle Cloud. For creating an account on particle cloud click here.
Login to Particle Cloud, click on create account and in next window fill all your details required and click on “create account”.
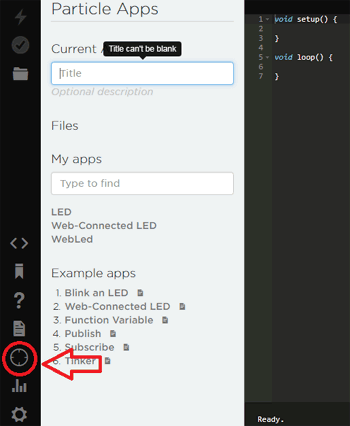
After creating account on Particle cloud. Click on Web IDE in the bottom left corner of the window.
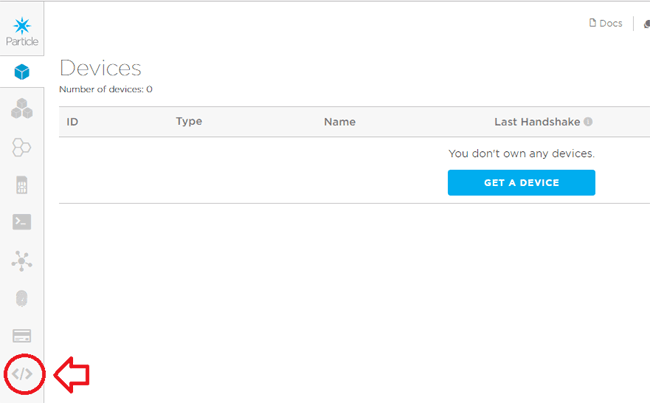
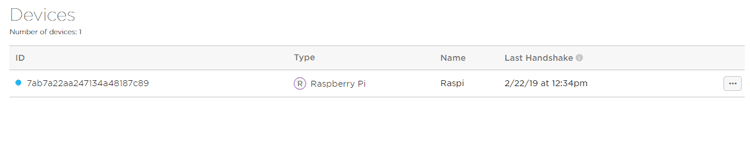
Now, click on ‘Devices’ in the bottom left corner of the next window.
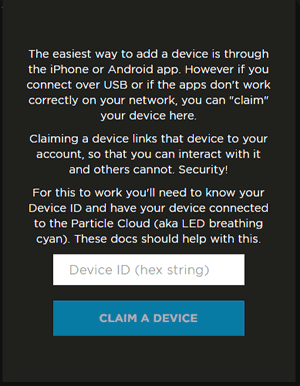
A window will pop up, here enter your device id and click on claim device.
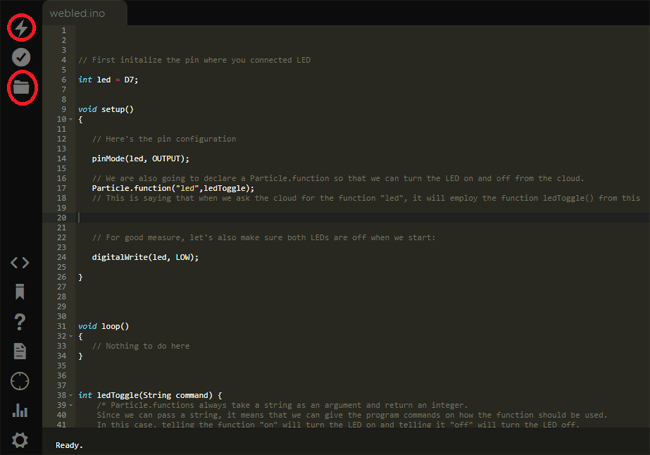
After device setup, name your app and copy the below code and paste it to Web IDE.
Programming for Controlling LED using Particle Cloud Console
The complete code for the project is given at the end, after this save and flash your code into the device using the “flash button” on the upper left corner of the window.
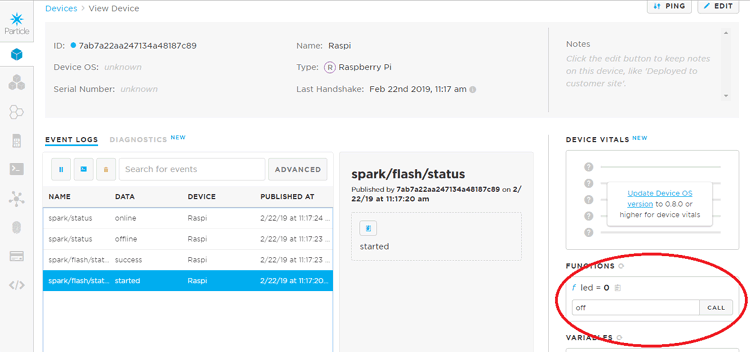
Now, go back to the previous tab and click on your device.
And, in the next window change the text to “turn on and off” led.
Hence, we have successfully connected the Raspberry Pi with Particle Cloud Console. You can also try Particle Cloud with other IoT devices like ESP8266 and ESP32.
// First initialize the pin where you connected LED
int led = D7;
void setup()
{
// Here's the pin configuration
pinMode(led, OUTPUT);
// We are also going to declare a Particle.function so that we can turn the LED on and off from the cloud.
Particle.function("led",ledToggle);
// This is saying that when we ask the cloud for the function "led", it will employ the function ledToggle() from this app.
// For good measure, let's also make sure both LEDs are off when we start:
digitalWrite(led, LOW);
}
void loop()
{
// Nothing to do here
}
int ledToggle(String command) {
/* Particle.functions always take a string as an argument and return an integer.
Since we can pass a string, it means that we can give the program commands on how the function should be used.
In this case, telling the function "on" will turn the LED on and telling it "off" will turn the LED off.
Then, the function returns a value to us to let us know what happened.
In this case, it will return 1 for the LEDs turning on, 0 for the LEDs turning off,
and -1 if we received a totally bogus command that didn't do anything to the LEDs.
*/
if (command=="on") {
digitalWrite(led,HIGH);
return 1;
}
else if (command=="off") {
digitalWrite(led,LOW);
return 0;
}
else {
return -1;
}
}