


Particle Cloud is the world's most popular IoT platform. Particle Cloud has everything for you to move quickly and succeed. In our previous projects, we have controlled led using various IoI platforms like Adafruit IO, Blynk, Artik Cloud, Firebase, ThingSpeak, and IFTTT. Here in this project, we are going to control led using particle cloud using Raspberry Pi.
Now, we are using Particle Cloud, because it has many advantages over other platforms like: it has Pre-provisioned connectivity modules, Pre-built integrations with and tools to stream data to databases and third-party web-services, APIs for interacting with devices virtually etc.
Components Required
- Raspberry Pi
- LED
- Breadboard
- Resistor (250 ohm)
- Jumper Wires
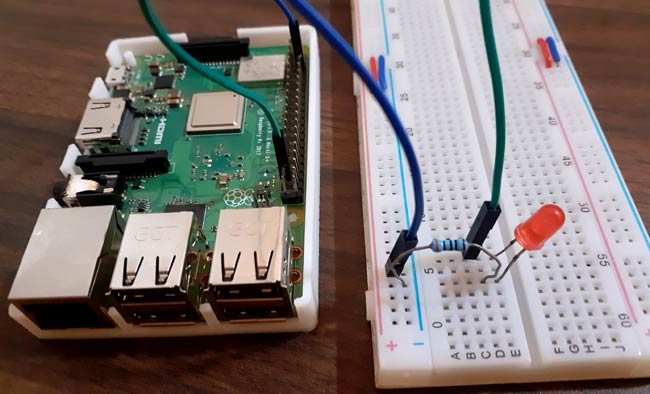
Circuit Diagram
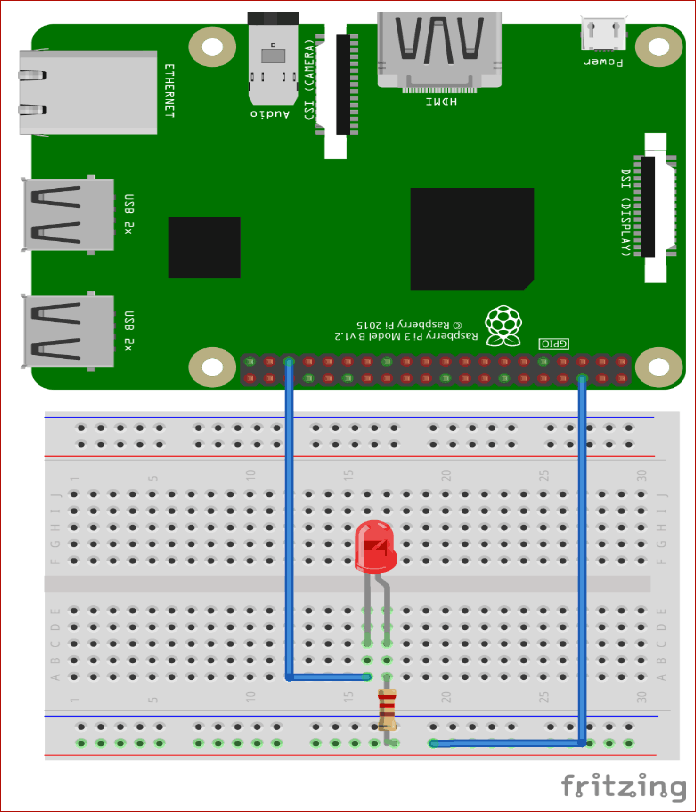
The connections of this project are very simple. Just connect the positive pin of LED to GPIO19 pin of Raspberry Pi and negative pin to the ground with a resistor.
Raspberry Pi Setup for Particle Cloud
To control led using particle cloud we need to create an account on Particle Cloud. To create an account on particle cloud click here.
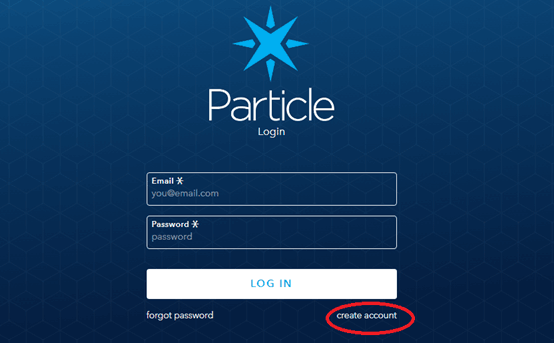
Now, you are on Particle Cloud, click on create account and in next window fill all your details required and click on “create account”.
Installing Particle Agent on Raspberry Pi
To connect your Raspberry Pi to the Particle Cloud, you need to install the Particle Agent on your raspberry pi. The Particle Agent will run in the background on the Raspberry Pi and allows you to write and run firmware. Particle cloud agent is the software that interacts with the GPIO pins on the Pi.
Step 1:- Install the Particle Cloud agent by simply pasting the below command on your pi terminal:
bash <( curl -sL https://particle.io/install-pi )
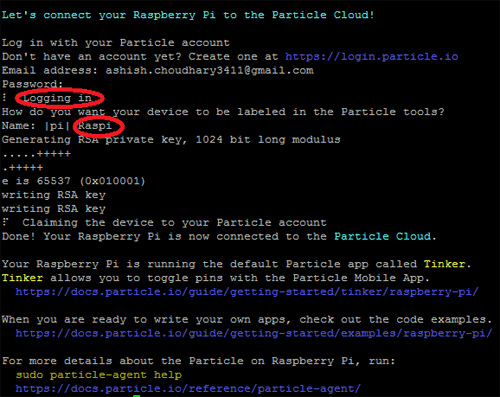
Step 2:- After successful installation of particle cloud agent, it will ask you to sign in with your Particle Cloud Email id and password. After login, it will ask you about your device label.
Enter the name that you want to see on your device label.
Step 3:- Now, install the Particle Cloud app from play store.
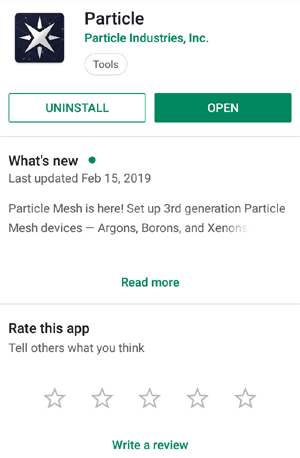
Step 4:- After installing Particle Cloud on your phone, login into it.
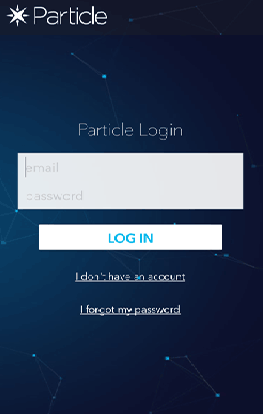
Step 5:- After login, click on your device

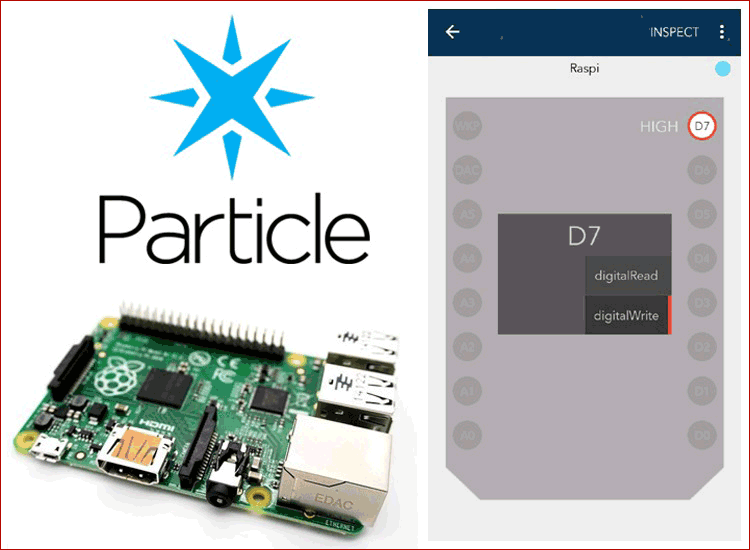
Step 6:- Now we will use D7 pin that is GPIO19 pin on Raspberry Pi.
Click on D7 pin and choose ‘Digital Write’.
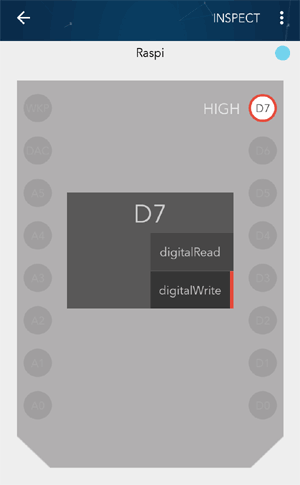
Step 7:- Now the set up is ready. Click on ‘D7’ pin and look at your LED.
Hence, we have successfully connected the Raspberry Pi with Particle Cloud. You can also try Particle Cloud with other IoT devices like ESP8266 and ESP32.


