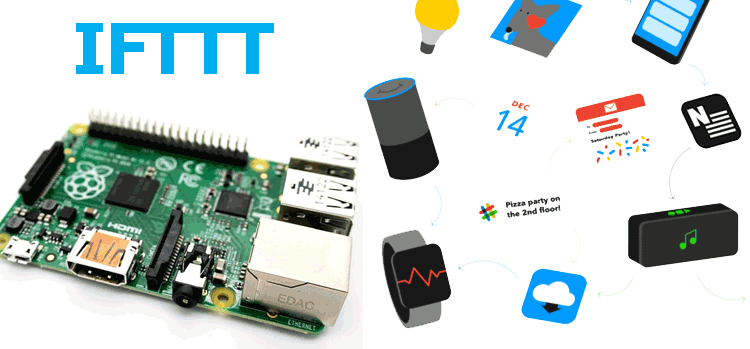
IFTTT (If This Then That) is a free IoT service that allows you to send a trigger from one device, and allow that trigger to make something happen elsewhere. By using IFTTT you can create Applets that work with any device or app that can make or receive a web request.
In this IoT project we use Raspberry Pi with IFTTT to trigger an LED from anywhere in the world. For this we have to create an IFTTT account and then we have to interface it with Raspberry Pi. IFTTT has many services which allow you to control smart washing machine, order Dominos Pizza, use Google Assistant etc from anywhere in the world using internet.
Components Required
- Raspberry Pi
- LED
- Resistor(250 ohm)
- Breadboard
- Jumper Wires
Circuit Diagram
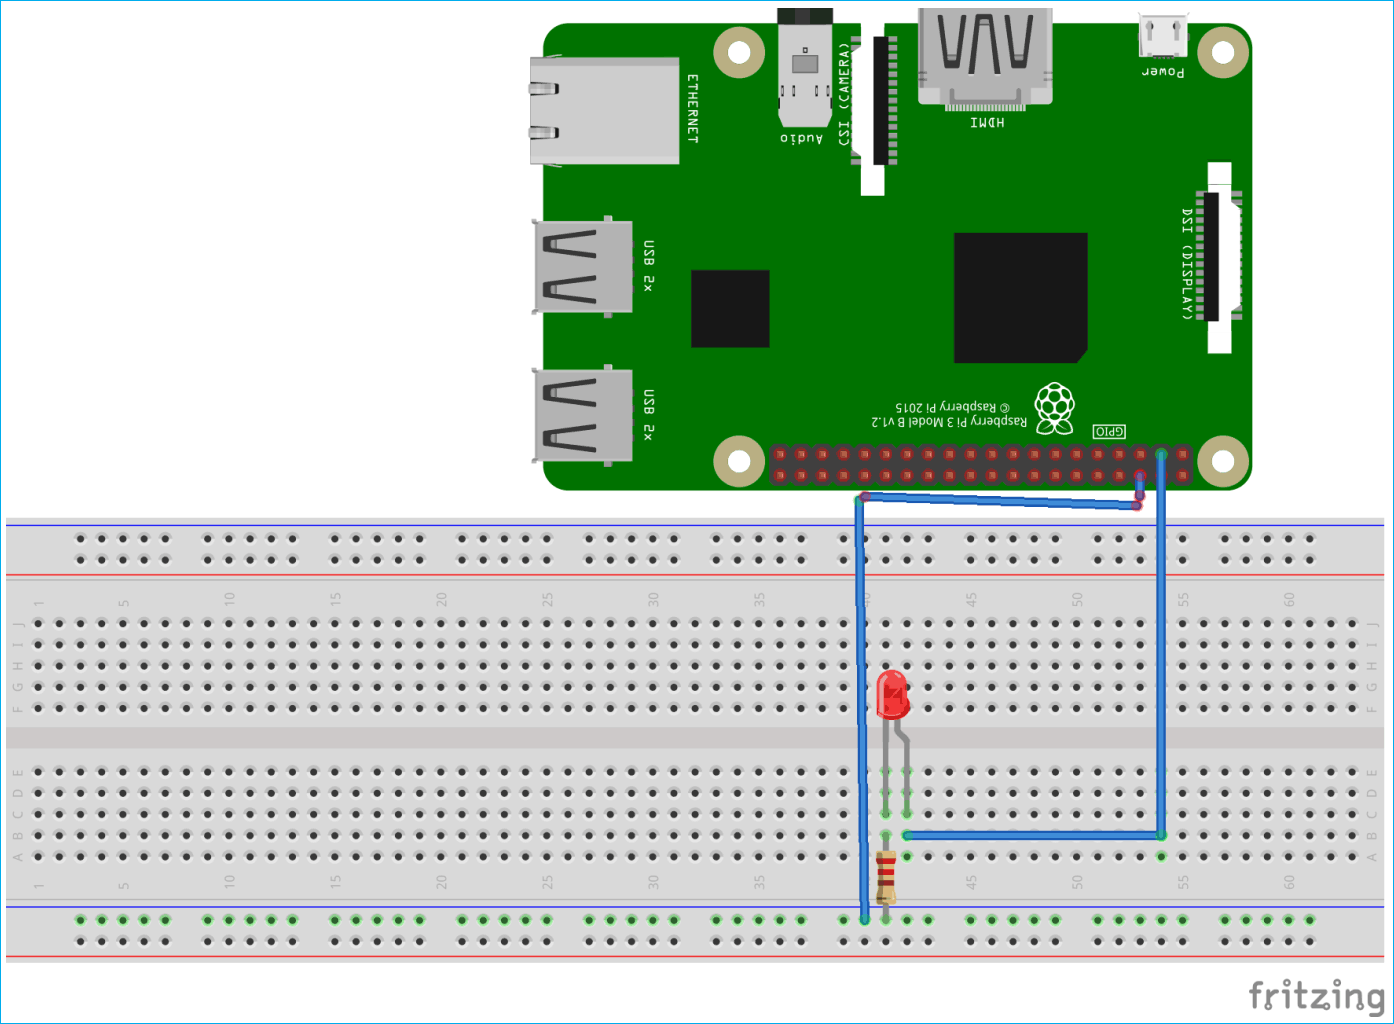
Connection in this project are very simple. LED’s positive pin is connected with Raspberry Pi’s 3rd pin while negative pin is connected with a 250 ohm resistor. Other part of resistor is connected with ground pin of Raspberry Pi.
Step 1: IFTTT Account Setup
First of all we need to set up our IFTTT account. To create your account go to the IFTTT website (https://ifttt.com) and select 'sign up' in the top-right corner.
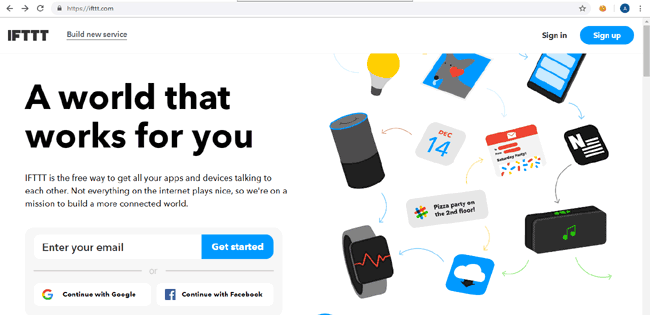
After sign up it will show you a screen asking you to pick 3 services to start off with - ignore that and just click the 'X' in the top-right corner.
After that you'll then be taken to the homepage - that's means your IFTTT account created.
Activate Webhooks Services
Now after creating your account you need to activate your Webhooks services. For this click on your username in the top-right corner.
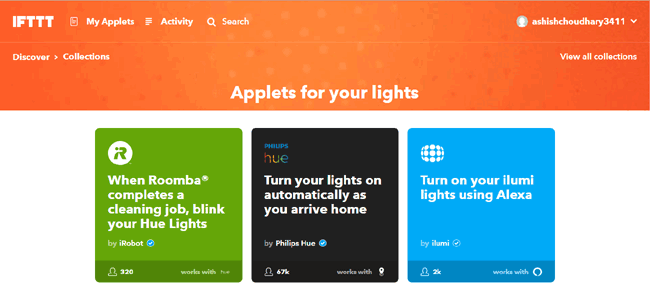
When you click on username you will see some options, from them click on ‘services’.
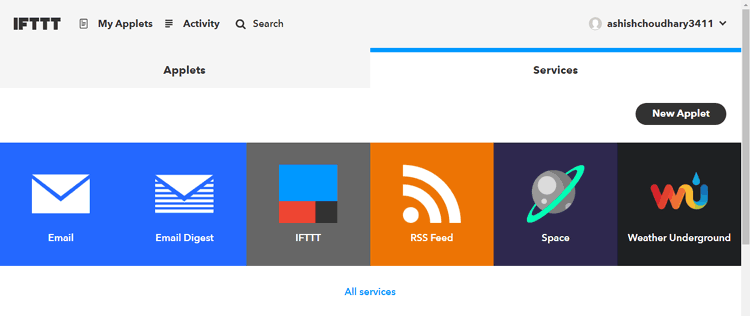
You will see a small selection of services - these are the default services that all users start with. At the bottom of the page, select 'All services'.
In the next page type 'Webhooks' into the filter box, which will single out the webhooks service.
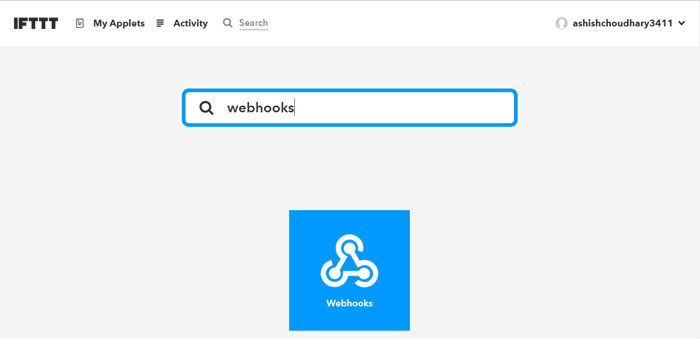
Click on the Webhooks icon, then in next screen click on the 'connect' button to enable that channel.
After this you will be directed to the next screen and you'll see a 'Documentation' button appear on the right.
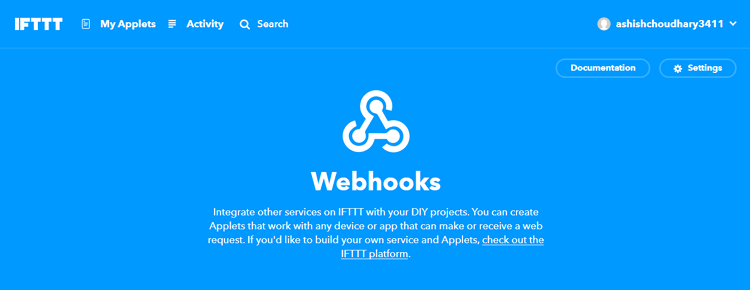
Now click on that button to find your unique 'key'.
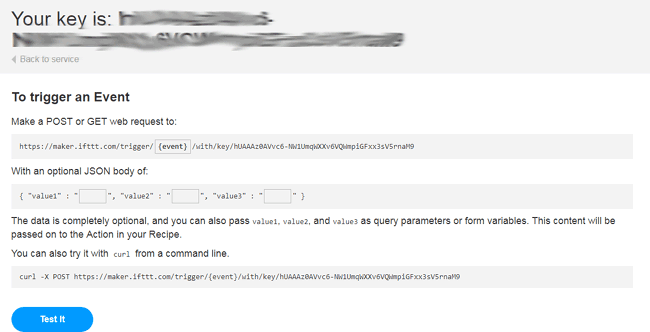
Copy your unique key, it will be used in python program to setup connection.
Step 2: Raspberry Pi Setup for IFTTT
If you are using a new Raspberry pi then update it using it these commands:
sudo apt-get update
Then
sudo apt-get upgrade
After updating you Raspberry Pi install libraries that will be used in python program:
sudo apt-get install requests
Note: - You can also use ‘pip’ to install libraries.
Step 3: Python Program
Complete Python program is given at the end of this article. In this python program you will need to change the LED pins according to your circuit diagram and you will also need to change the ‘key’ with your key that you copied from IFTTT page.
You can copy the program and paste in some file and save it using .py extension. First create a file using below command
nano filename.py
After creating this file copy your code to this file and save it using CTRL + X and then ‘y’ and Enter.
Then run the python file any time using below command:
python /path/filename.py
If it works correctly you will see a “Congratulations you have triggered the LED” in the Raspberry Pi’s terminal window.
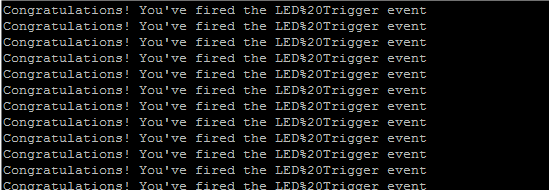
After this navigate to your IFTTT page in your browser and click on test button. When you click on test button LED will be triggered Off/On.

import requests
import RPi.GPIO as io
import time
from time import sleep
io.setwarnings(False)
io.setmode(io.BOARD)
io.setup(3,io.OUT)
led=3
while True:
data = requests.post("https://maker.ifttt.com/trigger/LED Trigger/with/key/hUAAAz0AVvc6-NW1UmqWXXv6VQWmpiGFxx3sV5rnaM9")
print data.text
if (data.text=="1"):
io.output(led,True)
print 'led on'
time.sleep(1)
elif (data.text=="0"):
io.output(led,False)
time.sleep(1)
print 'led off'


