


Blynk app is an easy to use Android and IOS based application, helps in controlling Arduino, Raspberry Pi and others for the purpose of IoT. Blynk app is a digital dashboard, where you can build a graphic interface for your project by simply dragging and dropping widgets. The best part of Blynk app is that, it is not bounded with some specific board or platform.
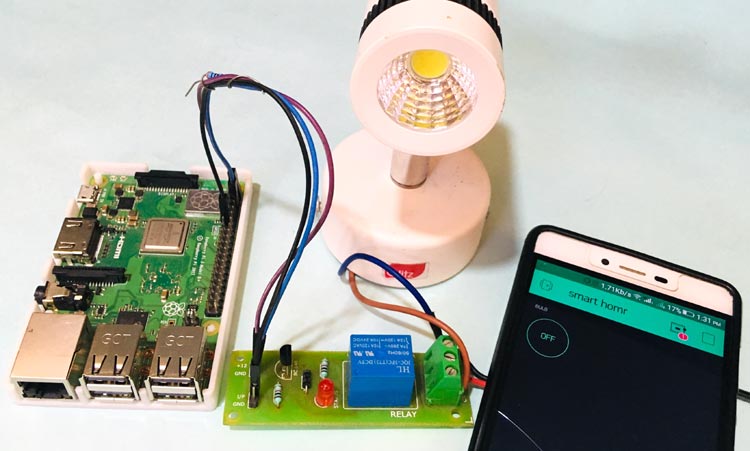
Here, we will also use Blynk app and Raspberry Pi 3 to control home AC appliance remotely from anywhere. So by using Blynk App we can control the home appliances with smartphone.
Now, for designing dashboard in Blynk app to control the home appliance, download the app from the link. If you are new with all these, follow our previous article to learn how to use blynk with Raspberry pi.
Components Required
- Raspberry Pi 3
- Relay
- Lamp
- Wires
- Blynk App
Relay
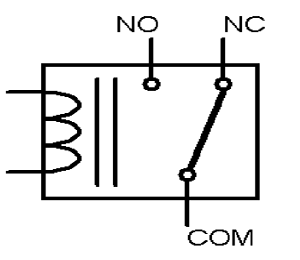
Relay is an electro-mechanical switch, used when we have to control many circuits by one signal. So by using relay we can turn on/off a circuit electrically. There are three contact pins in the relay which are mentioned below with there functionality:
Normally Open (NO) – Normally open is used to make contact with the circuit when the relay turns ON. It disconnects the circuit when the relay is inactive.
Normally Closed (NC) – Normally close is used to break contact with the circuit when the relay turns ON. When the relay is deactivated, it connects the circuit.
Common (COM) – COM is used to control normaly open and close with a common terminal.
Circuit Diagram
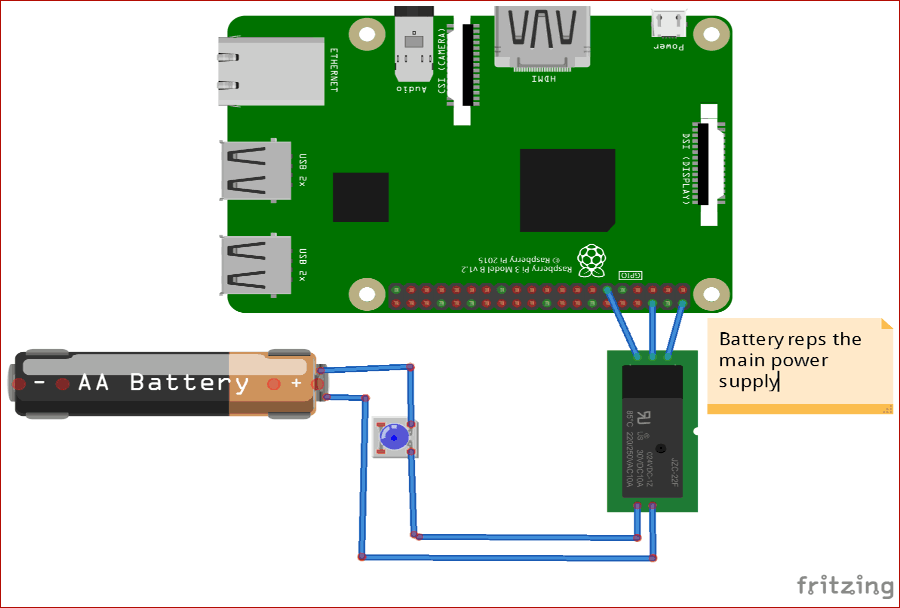
Now to connect the relay module with the Raspberry Pi’s follow the below connection details
|
Raspberry Pi |
Relay Module |
|
Vcc |
Vcc |
|
Ground |
Ground |
|
GPIO17 |
Input |
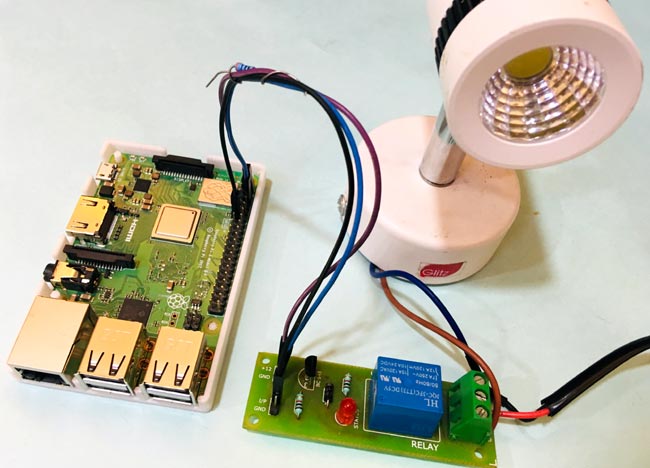
After connecting as per the above connection details, the hardware will look like the image below:
Step 1: Blynk App Setup for Raspberry Pi
- Download the Blynk app on your smartphone from Google play store or IOS app store and create an account.
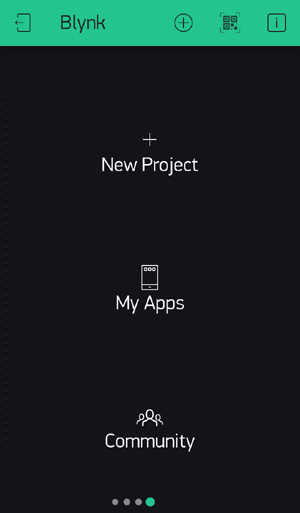
- Now, click on ‘New Project’ to create a new project with a project title and choose your device (Raspberry Pi 3) from the list.
- Select connection type (Wi-Fi, Bluetooth...).
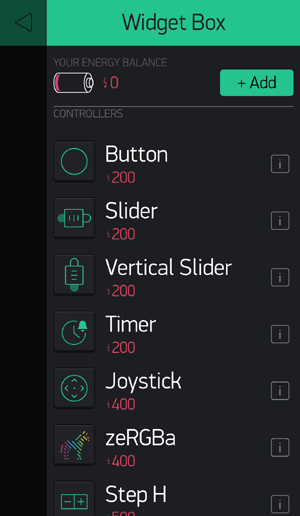
- For adding a widget to your control panel, click on the ‘Plus Icon’ on the top right corner.
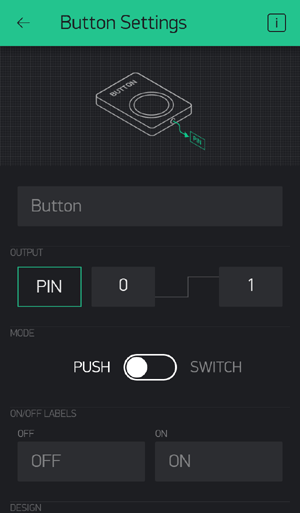
- Choose the Button widget from the list, and double tap to edit it.
- Name the button and its ON/OFF label. Also, set the Pin number in the output section.
Therefore, we have successfully designed the dashboard on Blynk App for Controlling Home Appliances using Pi. You can also follow the previous articles for Controlling LED using Blynk app and Pi.
Step 2: Raspberry Pi Setup with Blynk App
Open the terminal window and update your Pi using the below command:
sudo apt-get update
Install GIT using:
sudo apt-get install git-core
Now, install Wiring Pi using below command:
git clone git://git.drogon.net/wiringPi
After installing Wiring Pi, download Blynk library:
git clone https://github.com/blynkkk/blynk-library.git 6
cd blynk-library/linux
make clean all target=raspberry
Now, use your ‘Auth Token’ to connect raspberry pi with blynk app using below command:
sudo ./blynk --token= YourAuthToken
Hence, you have successfully connected your Raspberry pi with Blynk project.

Step 3: Run Blynk App for Controlling Home Appliances
To run your project click on ‘Play Button’ on upper right corner. Now, use the ‘Button’ in the Blynk App to control the connected home appliance with your project.


