


Blynk is an IoT Platform to control Arduino, Raspberry Pi, NodeMCU and other microcontrollers over the Internet. Blynk app is a digital dashboard where you can build a graphic interface for any IoT based project by simply dragging and dropping widgets. Its simple and easy to use this IoT platform to build complex applications. Blynk is not bounded to some specific board or platform, but it can be used with any microcontroller, provided that the microcontroller is connected to internet. Raspberry Pi has inbuilt Wi-Fi and other microcontroller like Arduino can be connected to internet using some Wi-Fi module like ESP8266 etc.
Components Required
- Raspberry pi
- Blynk App
- LED
- Resistor(250 ohm)
- Jumper Wires
- Breadboard
Circuit Diagram
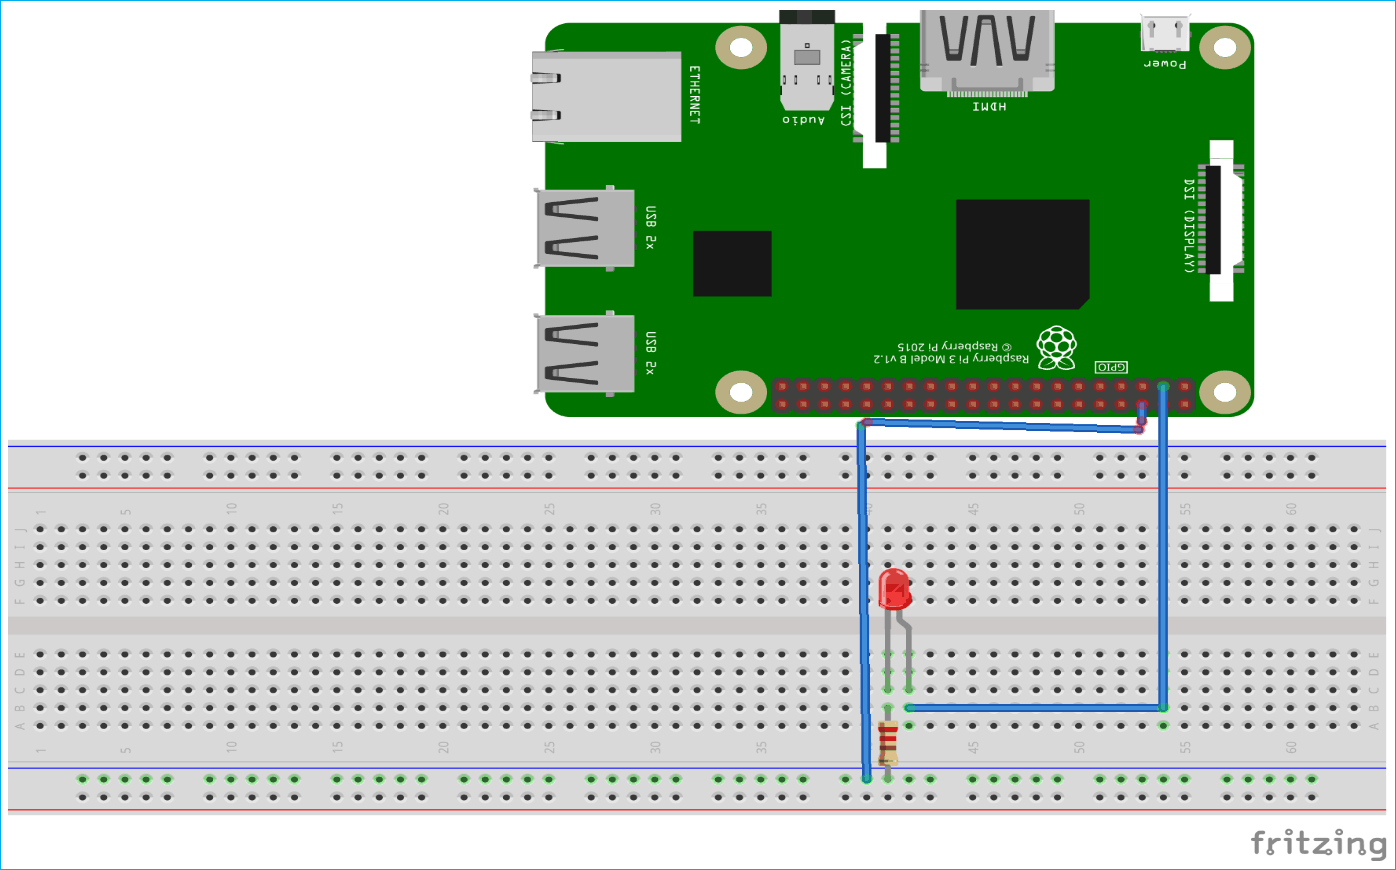
The connections of this project is very simple. Just connect LED’s positive pin to raspberry Pi’s 3rd (GPIO2) pin and negative pin to resistor.
Step 1: Blynk App Setup with Raspberry Pi
To control LED with Blynk app, first download and install the Blynk app from Google or Apple app store. After installing, if you don’t have an account already then create a new account by entering your Email and password.
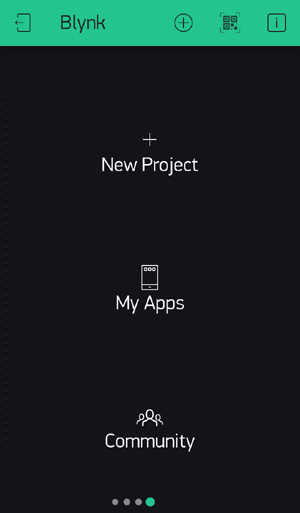
1. After sign up click on ‘New Project’ to start your project.
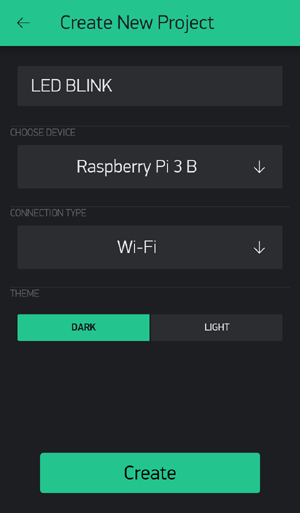
2. Now give your project a name in name slot. Blynk works with hundreds of hardware models and connection types so choose your device from options. I am here using Raspberry Pi 3B, so I am proceeding with Raspberry PI 3 B, you can choose different board. Then after choosing your board choose your connection type whether it is Wi-Fi or Ethernet or USB connection. After these steps click on ‘Create’ button to create your project.
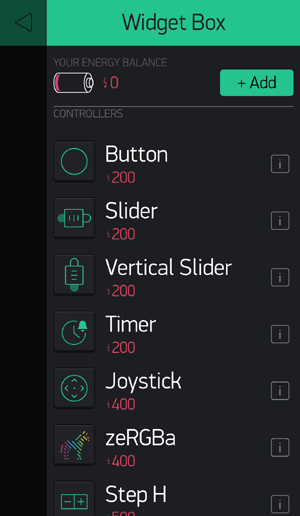
3. Now after this you’ll see a blank new project. To add Widgets to the project click on Add button (Plus sign button)

4. Now after this click on ‘Button’ to add a button in your project.
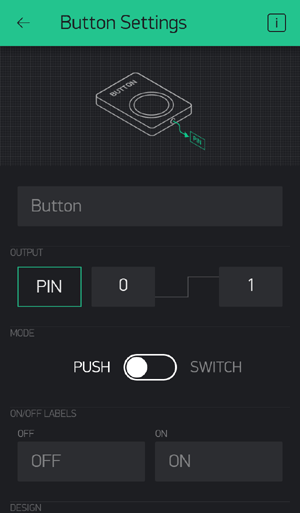
5. Now in button settings give a name to your button. After this in ‘OUTPUT’ choose your pin where you connected your Led’s positive pin. Then give names to your On/Off labels.
Step 2: Raspberry Pi Blynk App Setup to Control LED
First open the terminal window and update your Pi using:
sudo apt-get update
After updating your pi install GIT using:
sudo apt-get install git-core
Now to install Wiring Pi using this command:
git clone git://git.drogon.net/wiringPi
After installing Wiring Pi,download Blynk library:
git clone https://github.com/blynkkk/blynk-library.git 6
 cd blynk-library/linux

make clean all target=raspberry
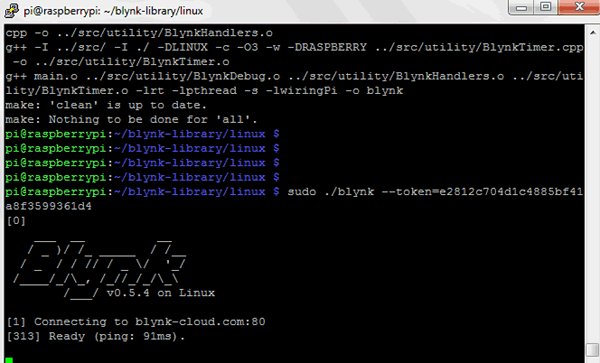
After doing all these steps now put your ‘Auth Token’ in terminal using this command:
sudo ./blynk --token= YourAuthToken
After doing all these steps now your Raspberry pi is connected with your Blynk project.
Step 3: Run Blynk App for Controlling LED
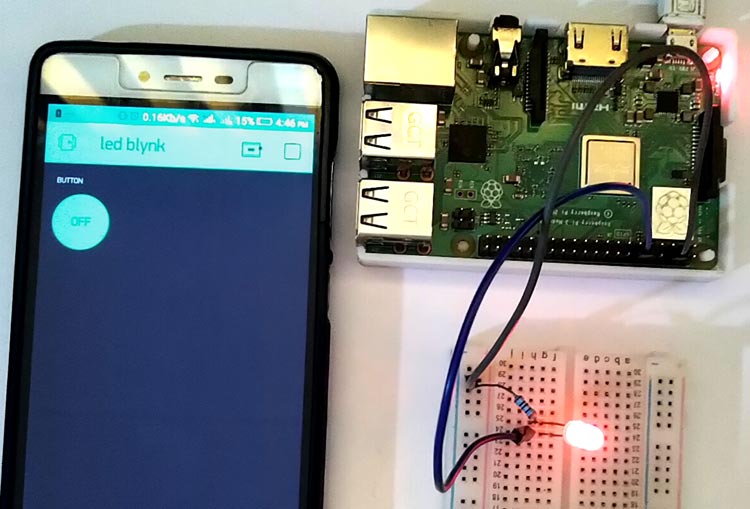
To run the project click on ‘play button’ on upper right corner. Then Press the button on Blynk app and watch the LED.


