Eclipse is an integrated development environment (IDE) used in programming. Eclipse IDE contains a workspace and plug-in system to extend its support for other programming languages. Eclipse IDE only supports Java in its base workspace but it can also be used for other languages like Ada, ABAP, C, C++, C#, Clojure, COBOL, D, Erlang, Fortran, Groovy, Haskell, JavaScript, Julia,[7] Lasso, Lua, NATURAL, Perl, PHP, Prolog, Python, R, Ruby (including Ruby on Rails framework), Rust, Scala, and Scheme using plug-ins.
Also, we need to install the additional development environments that include the Eclipse Java development tools (JDT) for Java and Scala, Eclipse CDT for C/C++, and Eclipse PDT for PHP, etc.
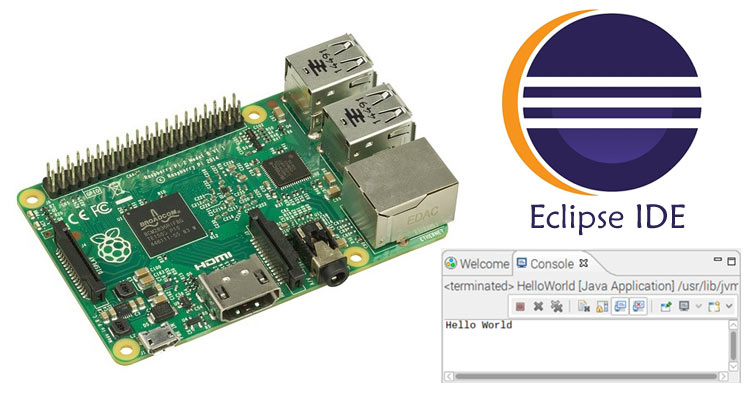
Here, in this project we are getting started with Eclipse and let you know that how to install Eclipse IDE on Raspberry Pi. Then will explain how to compile and run a program in Eclipse using Raspberry Pi. We are taking a simple ‘Hello World’ program to start with Eclipse.
Previously, we have posted the getting started tutorial of cayenne IoT cloud platform with Raspberry Pi.
Installing Eclipse IDE in Raspberry Pi
Always, update the Raspbian packages before starting any project, here we are doing the same using the following command:
sudo apt-get update
Now, install Eclipse IDE using the below command:
sudo apt-get install eclipse
Eclipse is a large program so the installation process will take few minutes.
Setting up Eclipse IDE with Pi
After finishing the installation, now we will run a simple ‘Hello World’ program on Eclipse IDE.
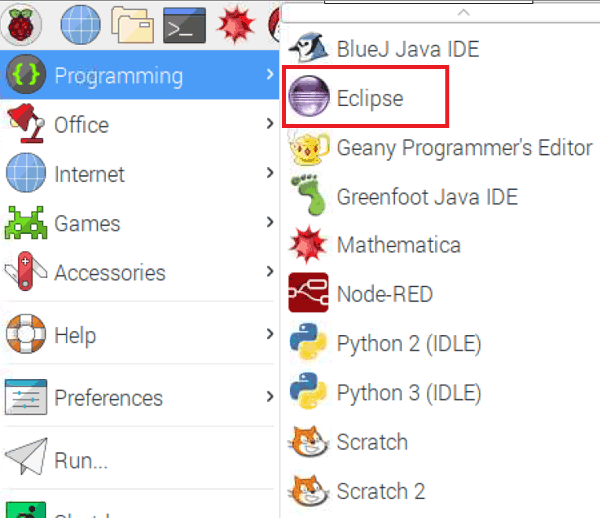
To load Eclipse, click on the Raspbian Icon > Programming > Eclipse.
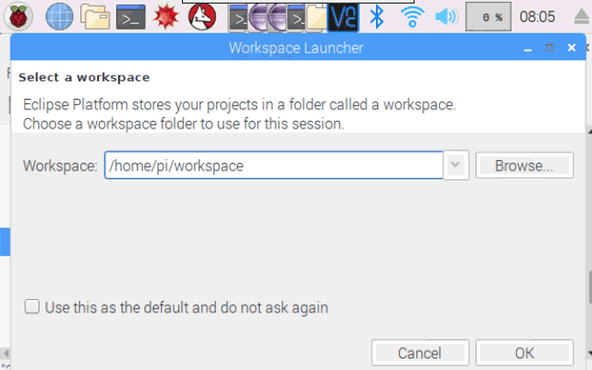
When you first open the Eclipse it will ask where the default workspace should be located. Leave it as the default and click ‘OK.’
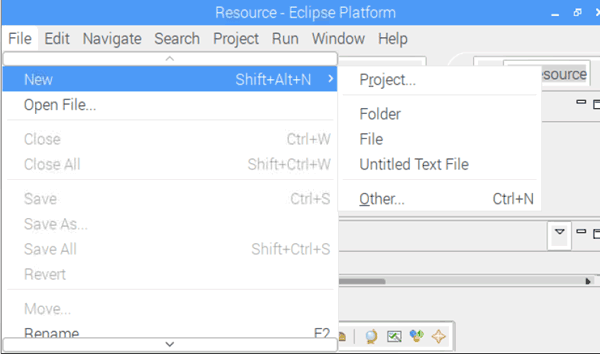
Now in next window click on File > New > Project.
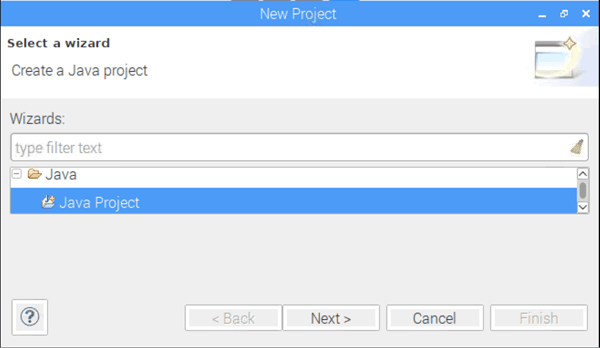
After this, it will ask to select a wizard. For this scroll down to the ‘Java folder’ and select ‘Java Project’. Then click on ‘Next’.
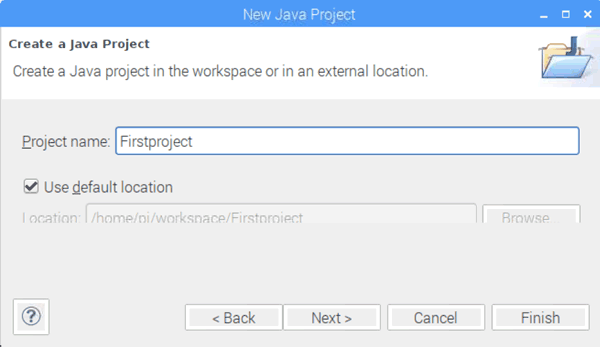
Now in the next window, give a name to the project.
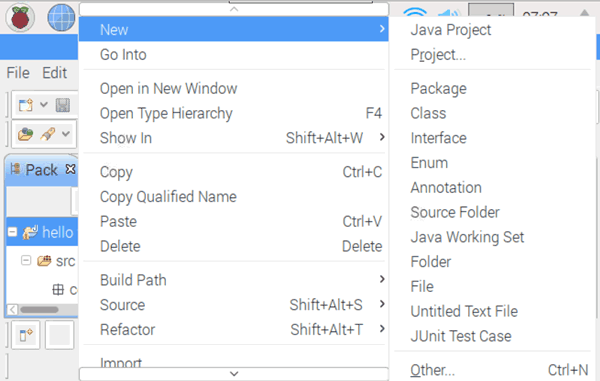
With that our project has been created. Now we need to create a Java package, for that right click on the project name than New > Package.
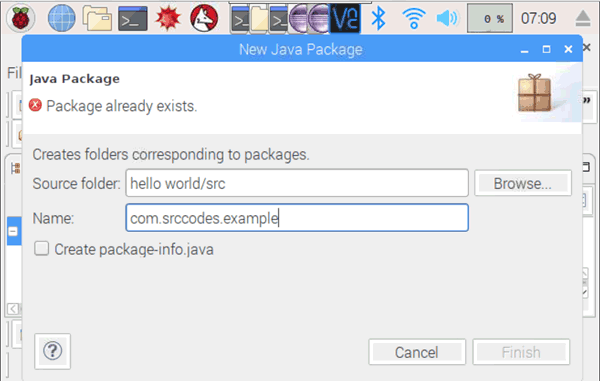
In next window enter the package name as ‘com.srccodes.example’. Then click on ‘Finish’.
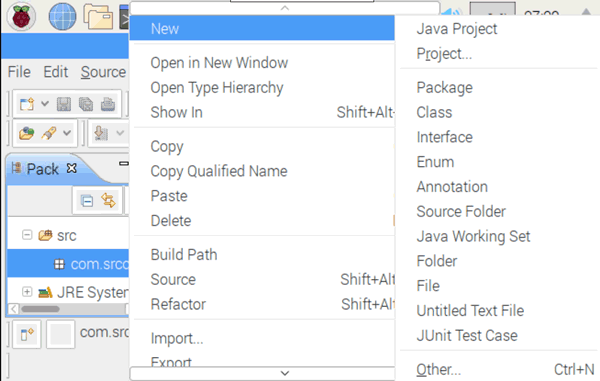
After creating a package, we need to create a class that will hold our code. To create a class, right click on ‘com.srccodes.example’ then New > class.
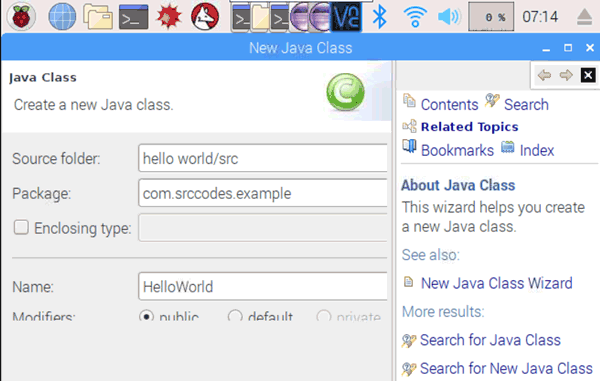
In the next window in the first field enter the package name and in second field name your class as ‘HelloWorld’ and then click on ‘Finish.’
Now Eclipse will generate a java class and open the same in the Java editor. Edit your code as shown below:
package com.srccodes.example;
public class HelloWorld {
    /**
     */
    public static void main(String[] args) {
        System.out.println("Hello World");
    }
 }
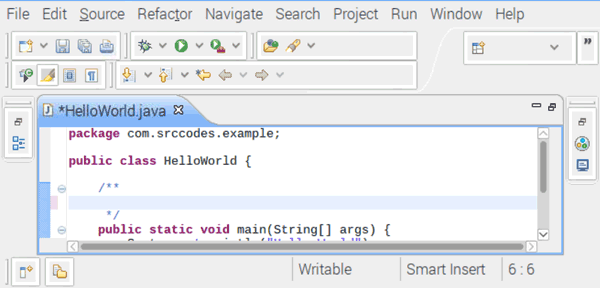
To run your program click on green play button in the toolbar.

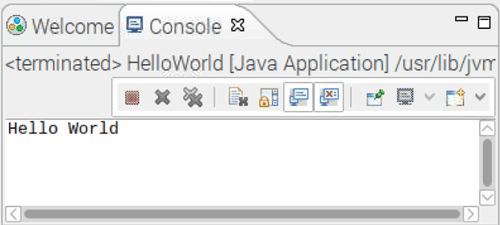
Your code will print 'Hello World' in the eclipse console.
Therefore, by following the same procedure, we can run other Java code on Eclipse IDE. Checkout our more getting started tutorial with other IoT platforms:


