


ESP32 is an important invention for the applications of IoT as it is used for various IoT purposes and has inbuilt Bluetooth, Wi-Fi and capabilities of a microcontroller. For more details about ESP32 and its features you can refer previous articles of ESP32. There are various programming Environments available for ESP32 like Arduino IDE, Espressif-IDF, Lua, Micropython etc. We already learned to program ESP32 using Arduino IDE. Now in this article we will learn to get start with Espressif-IDF and how to flash ESP32 using ESP-IDF framework (command line) for blinking an LED.
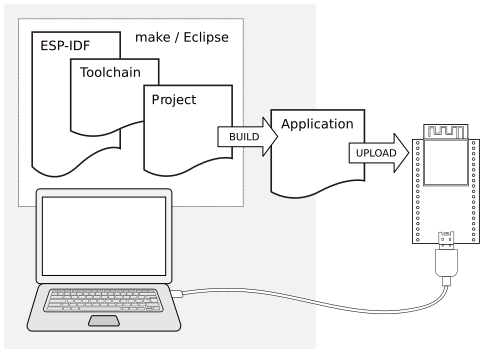
Prerequisites
- Toolchain to build the Application for ESP32
- ESP-IDF which contains API for ESP32 and scripts to operate the toolchain
- Git installed in your PC
- The ESP32 board
- USB Cable
Installation of GIT for Espressif-IDF
In Espressif-IDF you will be getting various GIT repositories so to download these GIT repositories you will need GIT application in your PC, to install the GIT application following steps are performed:
- Open your browser and type “git for windows” or you can go to https://git-scm.com/download/win directly and you will get window like this.
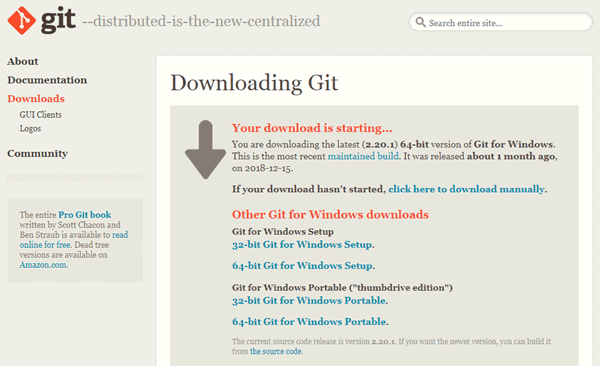
- Now in this you can download GIT according to your PC either it is 32-bit or 64-bit.
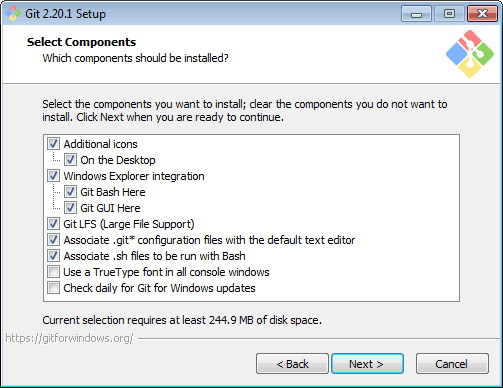
- After downloading the application install it and click on ‘Next’ till last but make sure in below window these all options should be selected.
As you need Git bash and GUI so these will be selected.
Setup of Toolchain
To build the applications for ESP32 using Espressif-IDF setup of toolchain is required, here we will be installing pre-built toolchain so to download it open your browser and go to
https://dl.espressif.com/dl/esp32_win32_msys2_environment_and_toolchain-20181001.zip
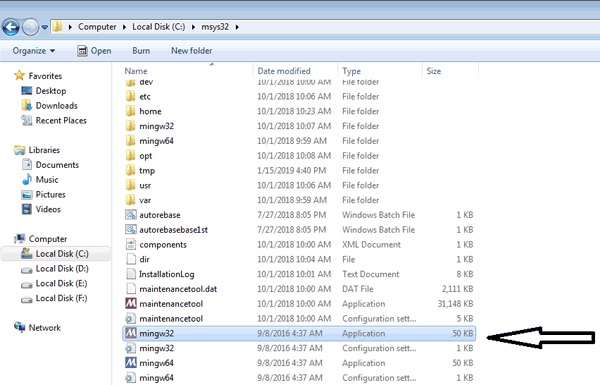
Download the Zip file, unzip the zip file to C:\ or some other location in which you want and after that it will create a directory named msys32 with a pre-prepared environment.
Get ESP-IDF Repository from Github
Along with toolchain you will be required some ESP32 specific API/libraries, to pullthe repository from Github you have to follow following steps:
- Open the local disk in which you have extracted the toolchain e.g. drive ‘C’ and create a new folder here named ‘esp32’, here you can give another name but for the sake of convenience I am giving here this name to new folder.
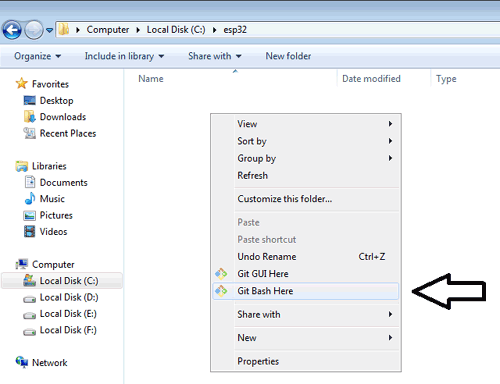
- Now, open this folder and do right click and open git bash here.
- Now, Run the below git repository address in the git bash window
git clone --recursive https://github.com/espressif/esp-idf.git
After lot of scrolling on the terminal you will find window like this:
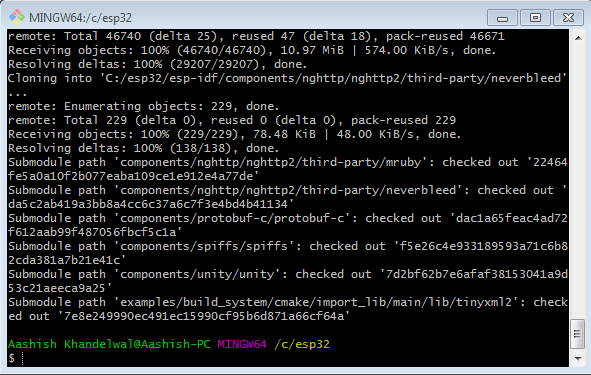
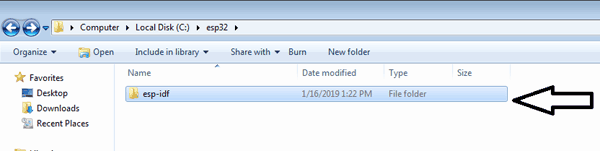
You will observe that your repository is successfully pulled out to your system and you can check it by opening your esp32 folder in which a folder named ‘esp-idf’ is created which contains some files.
Starting a Project in ESP-IDF for ESP32
The repository you extracted previously named ESP-IDF contains many example projects already like Bluetooth projects, projects using peripherals, LED blinking project, etc. In this section you will be able to blink LED on esp32 using esp-idf(command line) programming. For this following steps should be performed:
- Firstly open the toolchain folder named msys32 that you already pulled into your system.
- In this folder open ‘mingw32’, it will open in git bash window. Please make sure that in coming steps your windows defender should be turned off.
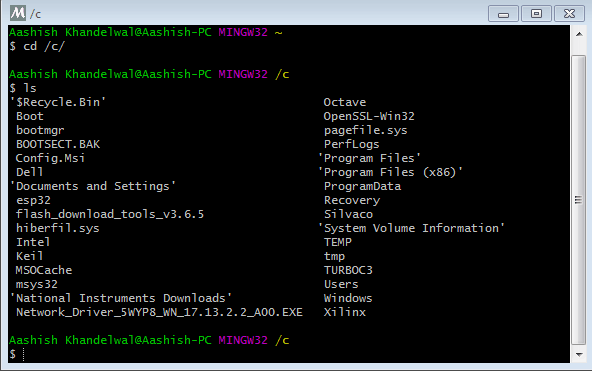
- Now after opening of mingw32 you can check your c directories by giving such commands like:
cd /c/
After this your directory changed to c and you can check list of items in this directory by just giving “ls”.
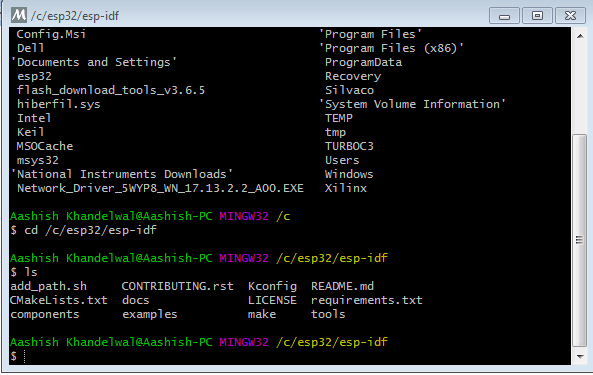
- Now change your current directory to esp32 folder by typing
cd /c/esp32/esp-idf
After this you are now moved to esp-idf folder and can simply check its files by typing ls command
- While you are in this directory, add the IDF_PATH environment variable to make the esp-idf available as well by using the below command:
export IDF_PATH= /c/esp32/esp-idf
- As, blink example is present in esp32->esp-idf->examples->get-started ->blink so give this path in command line by using the given command:
cd $IDF_PATH/examples/get-started/blink
As we export esp-idf path to IDF_PATH already in previous step so we can directly assign it.
- Now to start the project configuration utility use command:
make menuconfig
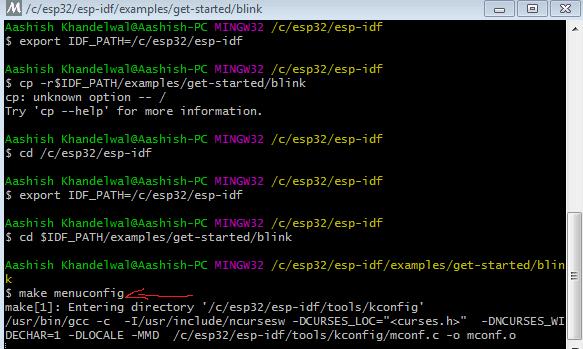
After this you can see it starts configuring and after some scrolling you will get below window:
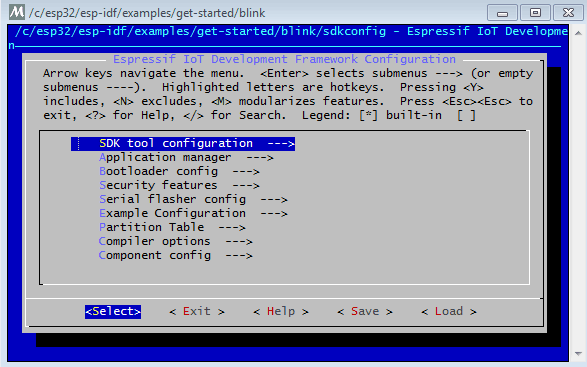
- Now connect ESP32 to your PC and check on which COM Port it is connected e.g. to my PC it is connected to COM Port 6.
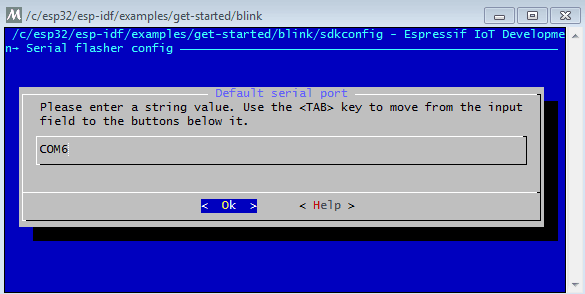
- Now, navigate to Serial flasher config and hit Enter.
- Click on Default serial port menu and change it to the COM Port to your ESP is connected and hit Enter.
Please check the following configuration, if not then correct them as per given below:
- Default baud rate ---> 115200 baud
- Flash SPI mode-------> DIO
- Flash SPI speed-------> 40 MHz
- Flash size------------> 2 MB
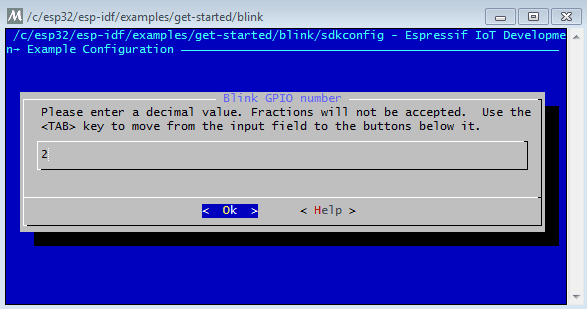
- Now go back to previous menu by clicking on Exit and navigate to ‘Example Configuration’ and hit Enter.
- After opening of window it will ask you to blink GPIO number, as internal LED of ESP32 is connected to GPIO2 so make it to 2 and press ok.
- Now go back to main menu by clicking on Exit button 2 times and click on save button and it will ask you to save the new configuration hit Yes on it.
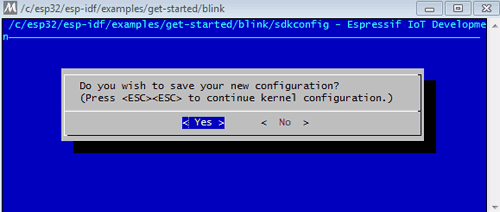
14. After this you will be directed to your git bash window again and your configurations are saved and now you can build and flash the blink application.
15. To build the blink application Run:
After a lot of scrolling on terminal the blink binary will be flashed to your ESP-32 and LED should be blinking.
If there are no issues at the end of build process you are able to see message as ‘Hard resetting via RTS pin…’, and a window as shown below will appear:
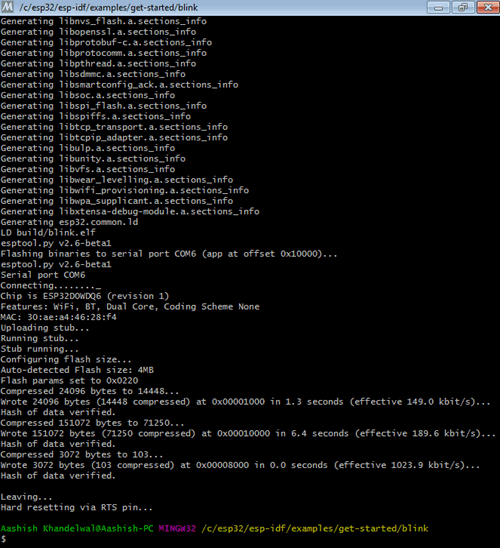
Now you can see your ESP32 LED is blinking.
This is how you are successfully able to learn to work with Espressif-IDF and LED blinking by using ESP-IDF.


