


IFTTT is an IoT Platform provide us a free-web based service, helps in connecting different apps and devices with each other. Here, we are using ESP32 Wi-Fi module which delivers advance features for IoT projects. ESP32 can be configured as Access Point (AP) mode and Station (STA) mode, but we are using it in Station mode for this project. And, for sending the email notification we are using IFTTT cloud service. Also, you can do various task using IFTTT like sending SMS, twitter tweets and many more.
For programming ESP32 we are using Arduino IDE and IFTTT applet to send an E-mail. Likewise you are using IFTTT for sending data through ESP32, you can also use Adafruit IO for the same, below are some projects using ESP32, IFTTT and Adafruit IO.
- How to Trigger LED using IFTTT and Raspberry Pi
- Google Assistant controlled LED using ESP32 and Adafruit IO
- Control Raspberry Pi GPIO with Adafruit IO to trigger an LED
Follow the below steps to send E-mail and trigger LED using IFTTT and ESP32:
Creating an IFTTT Applet
To create an IFTTT applet and get the URL for triggering the E-mail to specific mail id go according to the below mentioned steps:
Step 1:- Open IFTTT website, create an account if you are new with this.
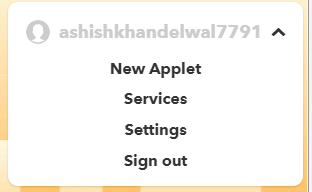
Step 2:- Login and click on your user icon at top right corner and click on new applet.
Step 3:- A dialog box will appear shows, ‘If this then that’. The term IF THIS THEN THAT means if something happens on the “This” then what task we want to perform on “that”.

Step 4:- Click on ‘+’ button and search for Webhooks, a dialog box will appear as shown below:

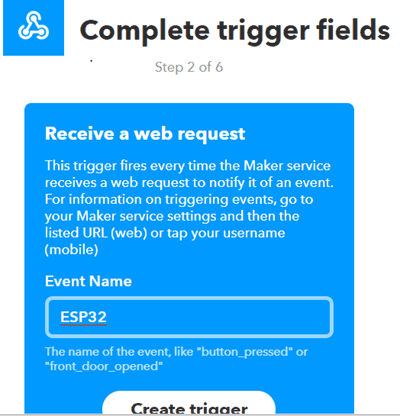
Step 5:- Now click on ‘Webhooks’ and click on ‘Connect’. After connecting it will show “Receive a web request” click on this and it will ask you Event name. Set any name for your event, like I am giving ESP32 and then click on create trigger.
Step 6:- Again, ‘If this then that’ window will appear. Now click on ‘+’ button of ‘That’. Search for Email and a window will appear showing ‘send me a mail’.
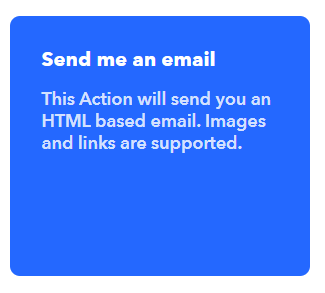
Step 7:- Click on it and you will be ask to add subject, in event name give name as you defined earlier and modify content of mail, then click on Create action.

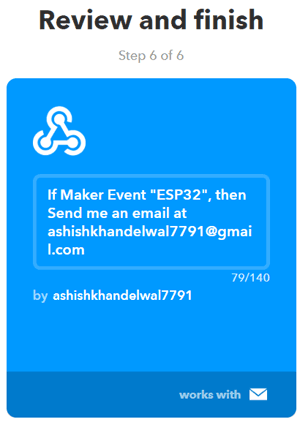
Step 8:- Now a review window will open which shows your action, simply click on Finish to create action.
Step 9:- Now again search for Webhooks and go to services and click on Documentation. This page will show you your key and instructions to trigger an event. Your page will display a unique key for your ID, keep it very confidential because anyone with this key can access all your applets. As I have hide the last words of my AIO key to make it confidential.
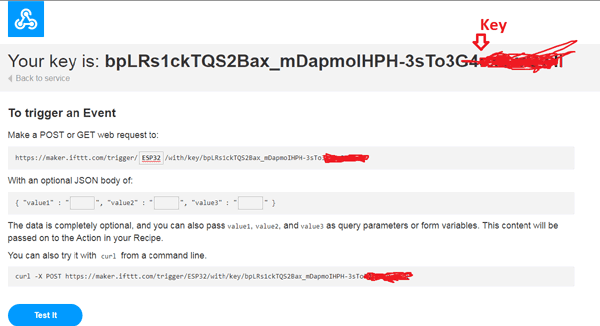
Step 10:- Now, under “Make a Post or get web request”, you can see that you have an option to add and configure your event name.
Step 11:- For checking your event, copy this URL and browse it, you will find a message like “Congratulations! You’ve fired the ESP32 event”.

Programming your ESP32 Module for IFTTT to Send E-mail
The complete code for programming your ESP32 for IFTTT to trigger LED with email notification is given at the end.
Now you have to program your ESP32 using Arduino IDE, as I have done in my last articles you can check that how to setup ESP32 with Arduino IDE. In this program you have to connect your ESP to your Router and call for the ‘HTTPS’ URL and then the E-mail will be triggered by that URL. Here, I am explaining you the code step by step.
In the below code you have to provide your WiFi credentials like as I have mentioned.
const char* ssid = "Ashish";
const char* password = "12345678";
Now provide your Event name that you created earlier and your key that you have received, as shown in the below code:
String url = "/trigger/ESP32/with/key/bpLRs1ckTQS2Bax_mDapmoIHPH-3sTo3G4cx3XXXXXX";
Once your code is ready with modifications, you are ready to upload it to your ESP32 from Arduino IDE.
LED Triggered using ESP32 and IFTTT
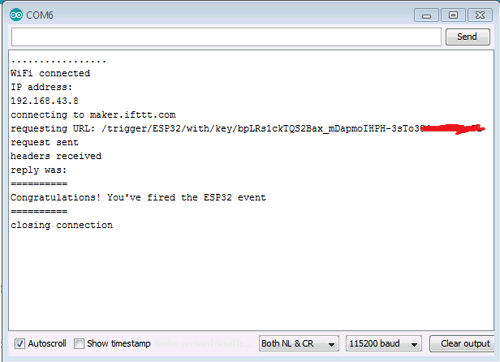
Upload the program in your ESP32 then open your serial monitor and you will find following information:
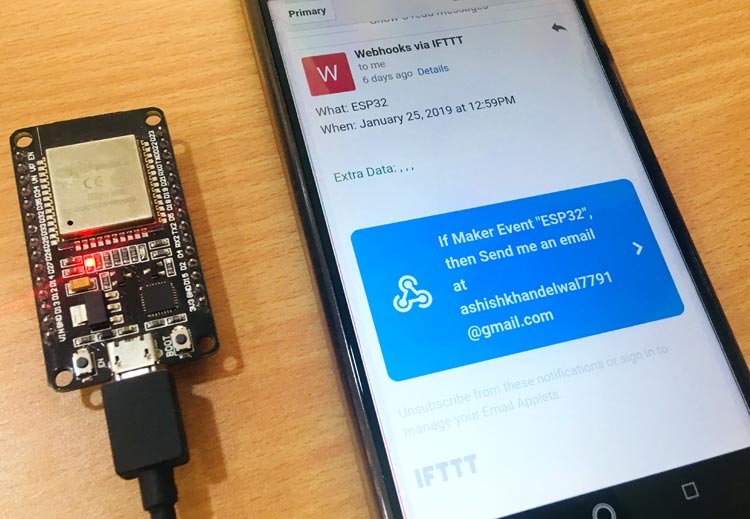
Now open your registered e-mail id through which you made your IFTTT applet, there you will find an email, as shown in below image:
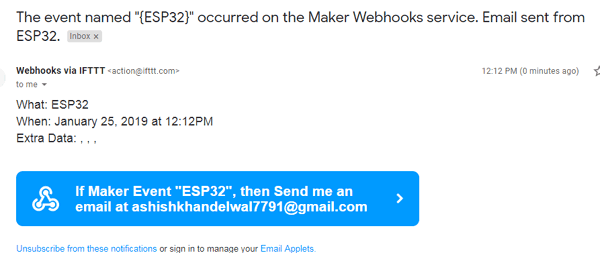
Hence, we have successfully triggered the LED and received the email notification for the same. You can also trigger Home Appliances using IFTTT and ESP32.
#include <WiFi.h>
#include <WiFiClientSecure.h>
const char* ssid = "Ashish";
const char* password = "12345678";
const char* host = "maker.ifttt.com";
const int httpsPort = 443;
void setup() {
Serial.begin(115200);
Serial.println();
Serial.print("connecting to ");
Serial.println(ssid);
WiFi.begin(ssid, password);
while (WiFi.status() != WL_CONNECTED) {
delay(500);
Serial.print(".");
}
Serial.println("");
Serial.println("WiFi connected");
Serial.println("IP address: ");
Serial.println(WiFi.localIP());
WiFiClientSecure client;
Serial.print("connecting to ");
Serial.println(host);
if (!client.connect(host, httpsPort)) {
Serial.println("connection failed");
return;
}
String url = "/trigger/ESP32/with/key/bpLRs1ckTQS2Bax_mDapmoIHPH-3sTo3G4cx3XXXXXX";
Serial.print("requesting URL: ");
Serial.println(url);
client.print(String("GET ") + url + " HTTP/1.1\r\n" +
"Host: " + host + "\r\n" +
"User-Agent: BuildFailureDetectorESP32\r\n" +
"Connection: close\r\n\r\n");
Serial.println("request sent");
while (client.connected()) {
String line = client.readStringUntil('\n');
if (line == "\r") {
Serial.println("headers received");
break;
}
}
String line = client.readStringUntil('\n');
Serial.println("reply was:");
Serial.println("==========");
Serial.println(line);
Serial.println("==========");
Serial.println("closing connection");
}
void loop() {
}


