


ESP32 is a great development board for the IoT applications as it is low cost, low power consumption and has many powerful features. ESP32 can be programmed in various Environments like Arduino IDE, Espressif-IDF, MicroPython, Lua etc. We already learned about programming ESP32 with Arduino IDE, with Espressif-IDF, and with Lua in previous articles. In this article you will see how to use MicroPython with ESP32 to flash ESP32 and blinking an LED using MicroPython.
Prerequisite
- Windows PC with Python 3.7.X
- uPyCraft IDE
- ESP32
- USB Cable
- Basic knowledge of Python code.
Installation of Python 3.7.X
MicroPython is a structured implementation of Python 3 language that includes Python standard library and is optimized to run on microcontrollers. MicroPython is an interesting and easy to use environment for microcontrollers and considered one of the easiest way to program microcontrollers. So first to work with MicroPython you have to install Python 3 in your PC.
To install Python 3 following steps should be performed:
- Open your web browser and search for the given link:
https://www.python.org/downloads/
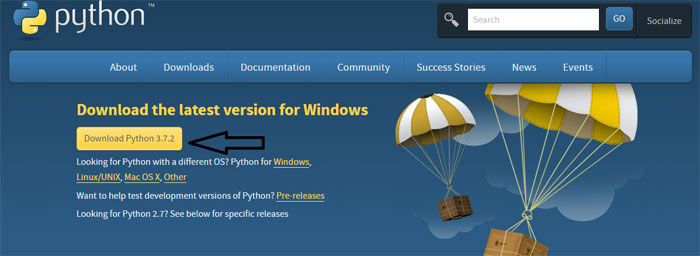
- After this, you will find a window as shown in figure below. Click on Download Python 3.7.2 to download Python 3.
- After downloading the file install it in your PC and after installing you will get a message on your screen that Setup was successful this means that Python 3.7.2 is successfully installed in your PC.
uPyCraft IDE for ESP32
As discussed earlier, ESP32 can be programmed using various environments like Arduino IDE, MicroPython, ESP-IDF, etc., so to program ESP32 using MicroPython firmware you will be required an IDE so I will use uPyCraft IDE for this. In the following steps I will show you how to install uPyCraft IDE software:
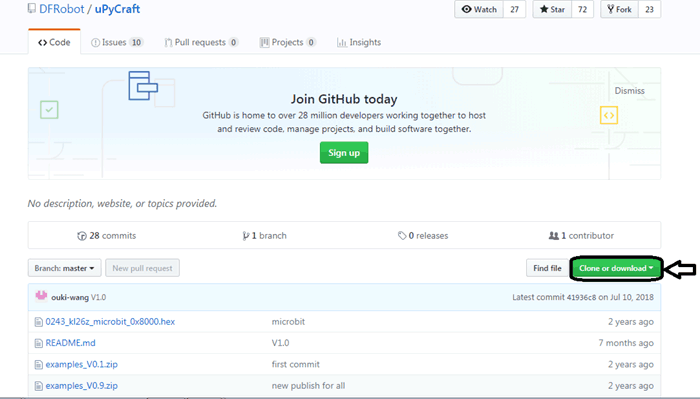
- uPyCraft IDE is a GitHub repository so to download the software open your browser and go for: https://github.com/DFRobot/uPyCraft
- To download IDE click on ‘Clone or download’ and download Zip file and it will start downloading its Zip file.
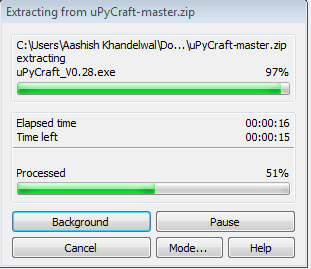
- After downloading the Zip file extract the file to any drive of your PC e.g. I extracted it to my Local disk C.
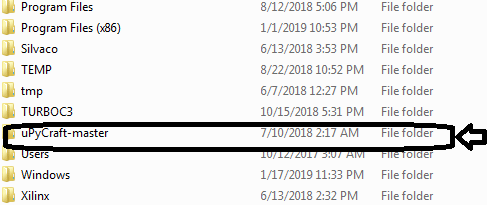
- Open your local disk to which you have extracted the file and you will find folder named uPyCraft-master.
- Open this folder and you will find lots of files in it which consists of bin files, zipped example files, etc. Here open the file named uPyCraft.
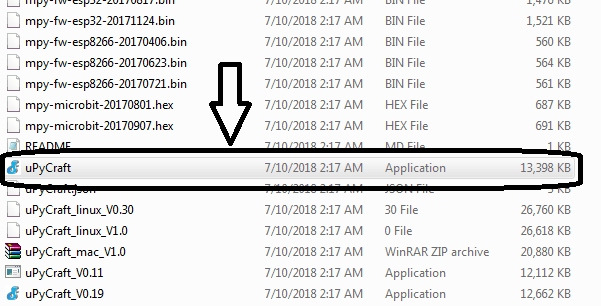
- Open this file and you will find a new window with the uPyCraft IDE software.
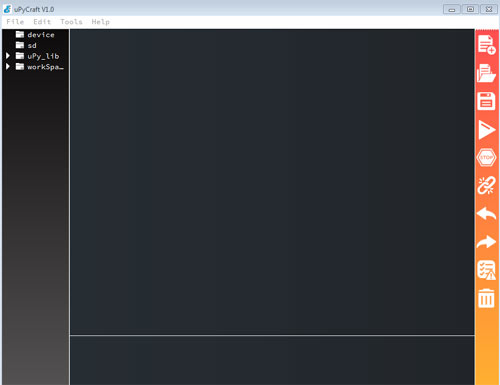
This is the software of uPyCraft IDE in which you can see various example files also saved with .py extension file. It works on MicroPython Programming.
This is how you successfully installed uPyCraft IDE in your PC.
Flashing/Uploading of MicroPython Firmware to ESP32 board
Following are the steps to flash MicroPython to your ESP32:
- Open your browser and go to
http://micropython.org/downloads
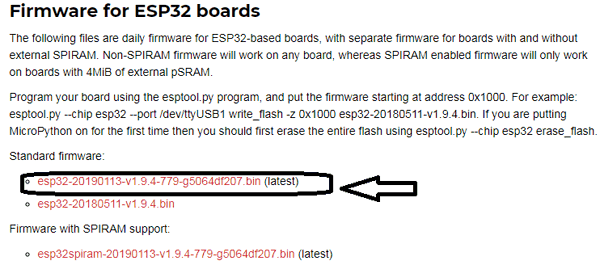
- After scrolling down the webpage you will find Firmware for ESP32 boards in which you have to download the latest bin file.
- After downloading the file connect ESP32 to your PC and check on which COM Port it is connected, to check go to device manager and check Port as in my PC it is connected to COM6.

- Now open your uPyCraft IDE and go to Tools and Select serial Port COM6 and on selecting port you will find >>> in output window and in board option select ESP32, now go to burn firmware and a window will appear.

- Enter following details in the window:
Board --------> esp32
Burn_addr --------> 0x1000
erase_flash --------> yes
com --------> COM6
Firmware Choose --------> Users
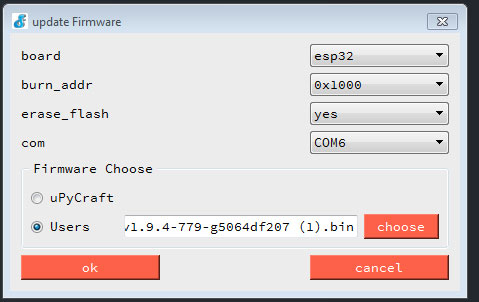
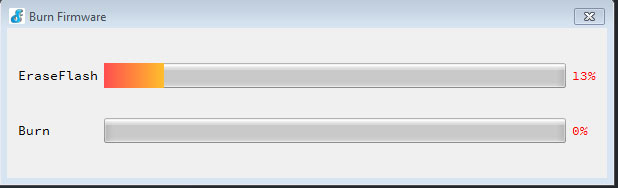
In Firmware Choose option select the bin file you have downloaded earlier and click ok and then firmware started uploading to your ESP and you will see below window:
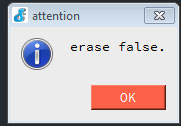
If you find command “False Erase” then firmware is not uploaded and you have to upload it again by performing above steps carefully.
After uploading MicroPython firmware you are now able to program your ESP32 using MicroPython.
LED Blinking using uPyCraft on ESP32
To start a project on ESP32 using uPyCraft following steps should be performed:
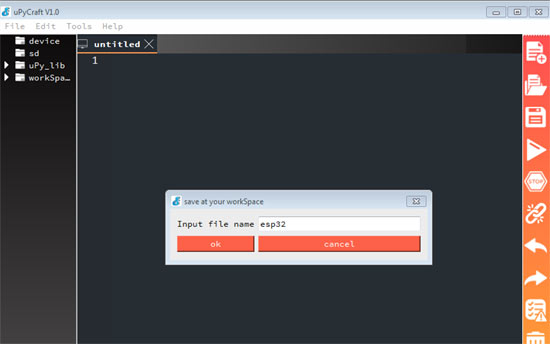
- Open your uPyCraft IDE and go to file and create new file.
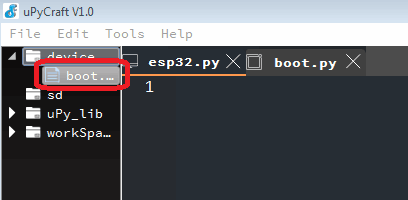
- Now go to Tools and select Serial port and Board i.e. ESP32, After selecting these parameters a boot.py file is generated it means you are in right direction.
- Now type the following code in the main file that you have saved earlier and save the code
from machine import Pin
from time import sleep

led = Pin(2, Pin.OUT)

while True:
  led.value(not led.value())
  sleep(1.0)
- After saving the code go to Tools and click on Download and Run.
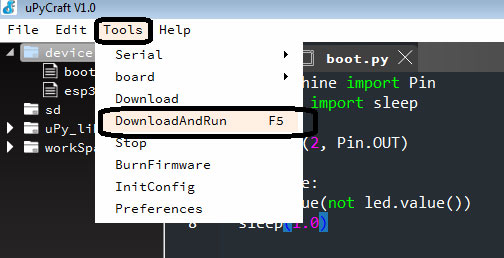
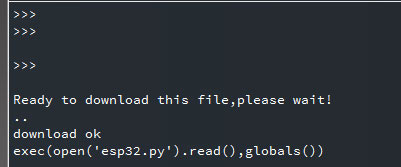
- After running the code you will see a LED will start blinking on your ESP at an interval of 1 second and following message on output window.
- In this you can stop your process at any time, for this go to Tools and click on Stop.
After clicking on Stop your LED will stop blinking and will start again if you click on Download and Run.
This is how you are successfully able to blink LED using MicroPython on ESP32. Now you can easily program ESP32 for any IoT project, and we will also use it in our future IoT projects.


