Raspberry Pi is a powerful pocket sized computer having many connectivity options to connect different peripheral devices. It has USB ports, LAN port, HDMI port, 3.5mm audio jack, camera slot and several GPIO pins. To start using Raspberry pi, either you should have a display monitor which can be connected using HDMI cable or you can access it using SSH terminal or VNC server. We already explained the SSH connectivity in previous article of Headless Start of Raspberry pi. But it’s not possible to access full Raspberry Pi desktop with GUI display using SSH Connectivity. So to access the GUI display virtual servers are used and one of the most popular virtual servers is Tight VNC. So in this tutorial we will explain to access desktop of Raspberry Pi using TightVNC remotely. Once setup you can easily run python scripts using GUI interface and easily build IoT based project like:
- IoT Controlled LED using Thingsboard and Raspberry Pi
- Temperature and Humidity Monitoring over Cloud using Raspberry Pi and Cayenne
- Particle Cloud and Raspberry P i- Temperature Warning with IFTTT to send an alert after getting data from Particle cloud
- IoT based LED control using ARTIK Cloud and Raspberry Pi
- IoT Based Home Appliances Control with Adafruit IO and Raspberry Pi
What is VNC?
Virtual Network Computing (VNC) is a client-server system which helps to control remote computer over a network connection. Actions like keyboard button presses and mouse clicks are transmitted from one computer to another over this virtual network. It works on client-server model. A VNC client is installed in a local computer and it is connected to server which is installed in the remote computer. The server then transmits its duplicate screen to local computer. There are many VNC softwares available like TightVNC, TigerVNC, UltraVNC, RealVNC. Although all these software works fine but in this tutorial we will use TightVNC software as it is easy and simple to configure on remote machines.
Tight VNC
TightVNC is a free remote control software package. TightVNC helps us to see and control the desktop of a device remotely. For instance, we can access the desktop of Raspberry Pi without using external hardware like monitor or screen by simply installing TightVNC software in PC. It is available for Windows and Unix with Java Client.
TightVNC is divided in two parts: the server and the client. Tight VNC Server software is installed in Raspberry pi and it acts as the server. The software TightVNC Java Viewer which is installed in PC acts as the client and helps to access the desktop of the Raspberry Pi. First we need a SSH Client to access command prompt of Raspberry Pi to install TightVNC Server software.
Installation of TightVNC Server on Raspberry Pi
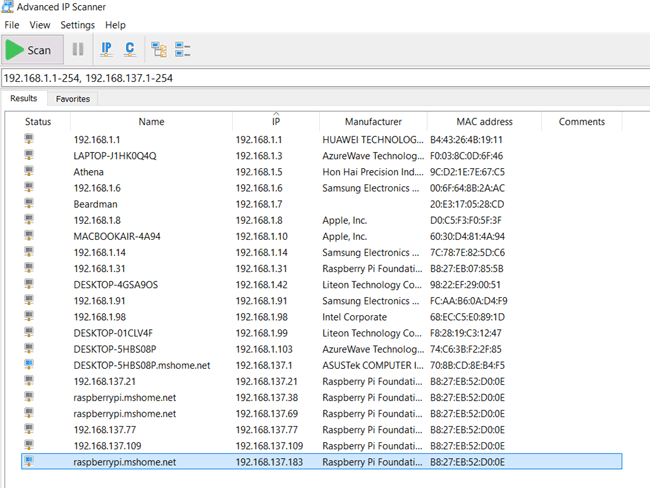
We learn in previous tutorial that how PC allocates the IP address to Raspberry Pi while sharing the network connection. To get the IP address of Raspberry Pi, scan the IP address using the software Advanced IP Scanner. Download the software from here and install it. Open Advanced IP Scanner and click on scan and wait for some time till it completes the scanning. After scanning you will be able to see IP address of different devices connected to W-Fi. Sometimes you can get different IP address of the same Raspberry Pi as PC allocates dynamic IP address to it. You have to try and check which IP address connects to the raspberry pi. For me the IP address of Raspberry pi was 192.168.137.183 as shown in the blue box. Copy the IP address and save it for a while.
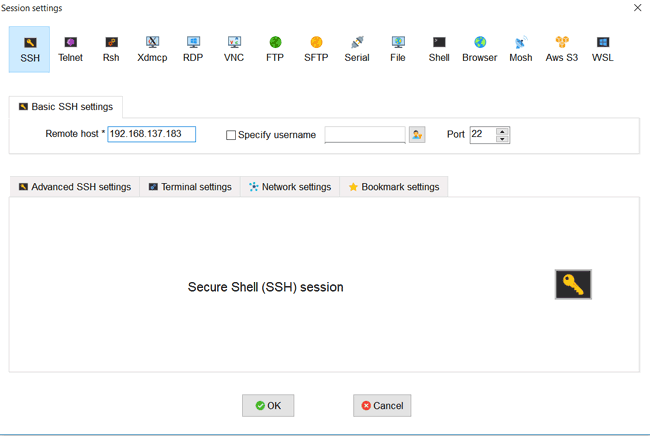
Now we have to access to the terminal of Raspberry Pi, so we are using a software MobXterm acts as a SSH client which will help us to access the SSH Terminal. Download the software from https://mobaxterm.mobatek.net/ and install it. Open MobXterm and click on Session. Now click on SSH and paste the IP address of the raspberry pi in the Remote Host section and then click on OK. Wait for few seconds till Raspberry Pi gets connected.
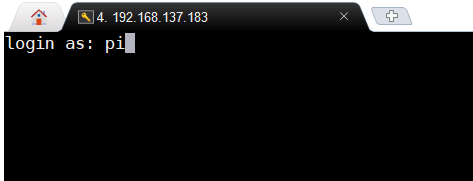
A command prompt will open with IP address on the top. On successful connection with raspberry pi, login id and password will be asked. By default login id is “pi” and password is “raspberry”.
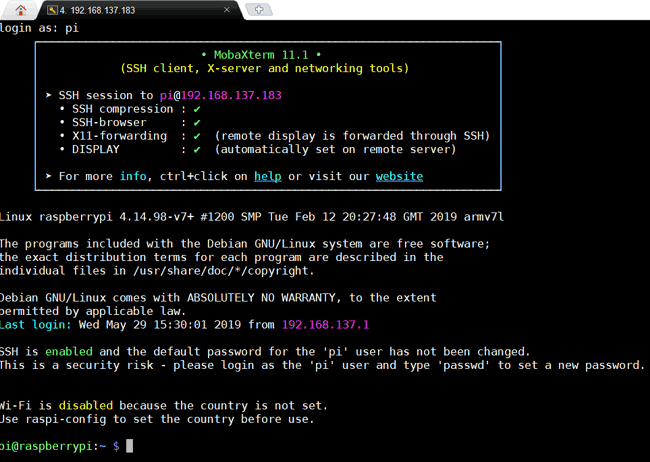
If the login id and password are correct then it will display successful SSH connection and you will be able access the command prompt as shown below.
Run the following two commands in the to install Tight VNC Server. The first command is not necessary but it is recommended to update and upgrade the raspberry pi before installing any new software. The second command is to install Tight VNC Server.
sudo apt-get update && sudo apt-get upgrade
sudo apt-get install tightvncserver
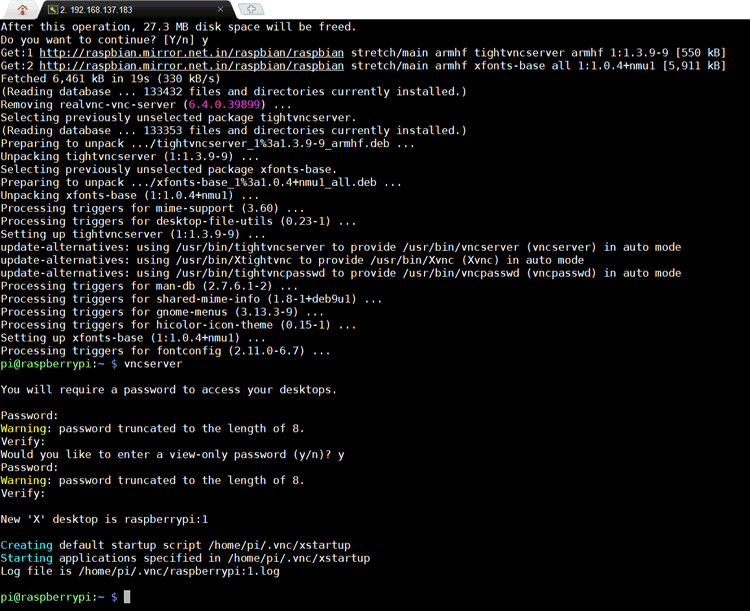
Wait till software gets install. To check the successful installation of Tight VNC, type the command “vncserver” in the command prompt. On running this command for the first time you will be asked to set new VNC password for accessing the Raspberry Pi using TightVNC. This password can be different from username “pi”. On successfully entering the new password you will be able to see the output similar to the output given below.
Installing the TightVNC Client on Computer
Since the raspberry pi acts as a TightVNC server, we need software which acts as a TightVNC client. Here we are using Tight VNC Java Viewer to act as client. Download the zip file from this link https://www.tightvnc.com/download.php and unzip it.

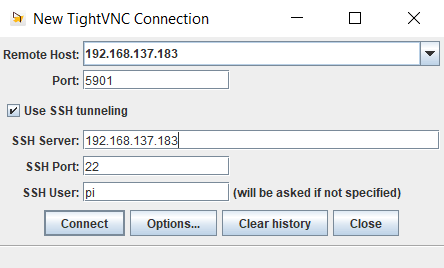
Open tightvnc-jviewer.jar file. A new window will open with New TightVNC Connection name on its top. Now input Raspberry Pi IP address in Remote Host section. By default the Port is “5901”. Tick on the check box of SSH tunneling and enter IP address of Raspberry Pi and user id in SSH Server and SSH port section. Click on Connect.
Now enter the Raspberry Pi password and then VNC server password for Raspberry Pi user pi.

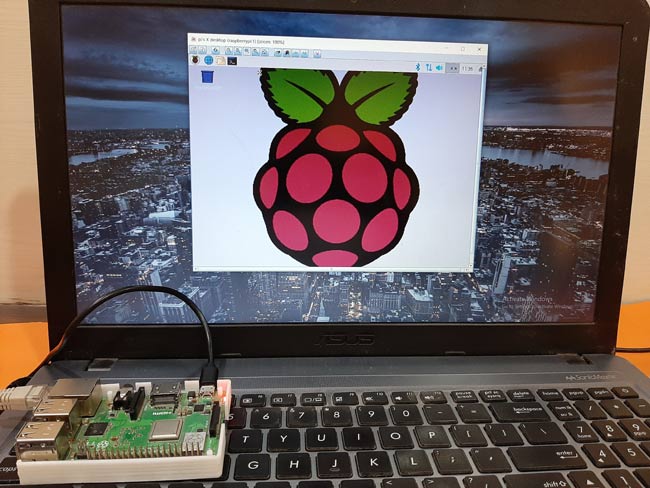
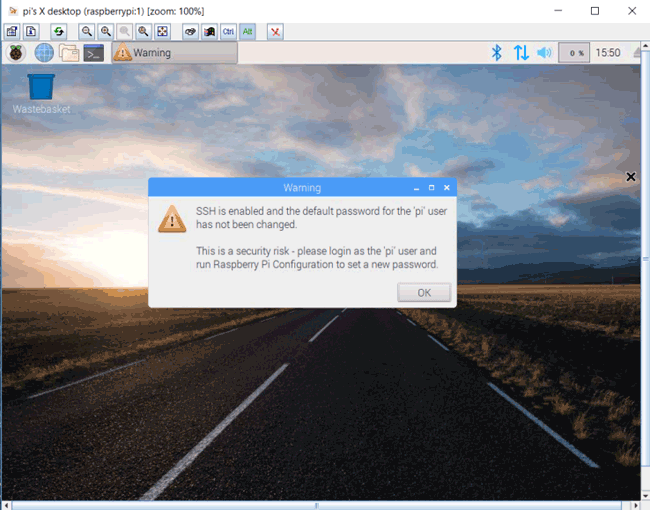
On successful password authentication, will display Raspberry Pi’s desktop with a warning of enabling of SSH and security risk for changing user id and password of raspberry pi.
If you are running display for the first time you will be asked for various settings of Wi-Fi, language, Location, etc.
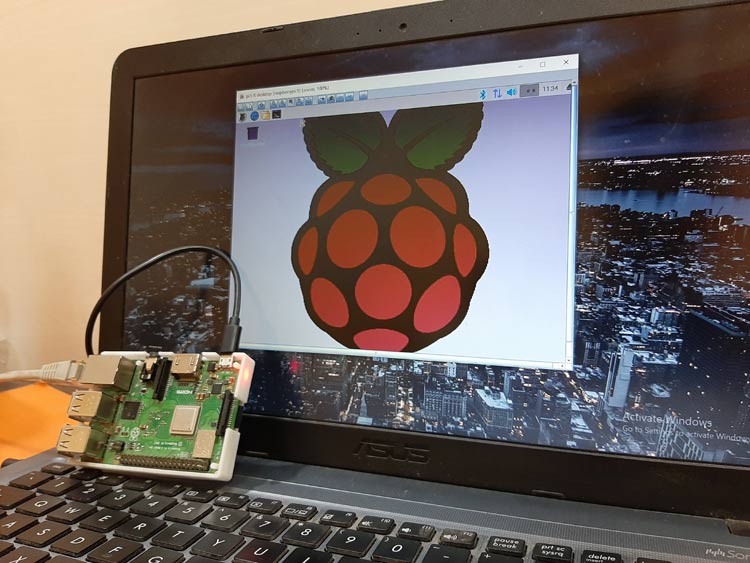
After completing all the settings you will be able to access the desktop of Raspberry Pi. Now you don’t need any external hardware like monitor, keyboard, mouse, etc. for your Raspberry Pi model and you can directly access the Raspberry Pi from your laptop or computer.